Create and Attach Volumes to EC2 Instances
Step 1: Open the Amazon EC2 console at
https://console.aws.amazon.com/ec2/
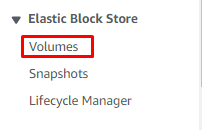
Step 2: In the navigation pane, choose Volumes.
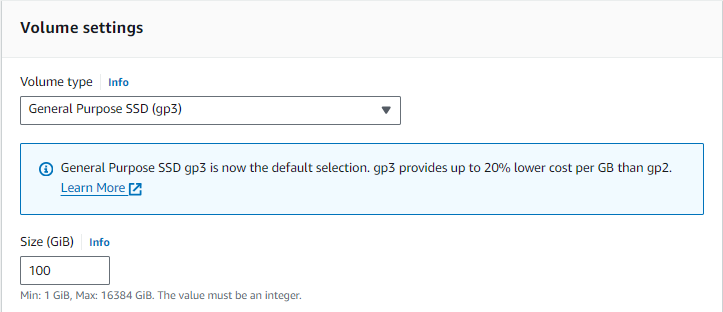
Step 3: Choose Create volume.

Step 4: For Volume type, leave to default.
Step 5: For Size, enter the size of the volume.
Step 6: For availability zone, choose the Availability Zone in which to create the
volume.

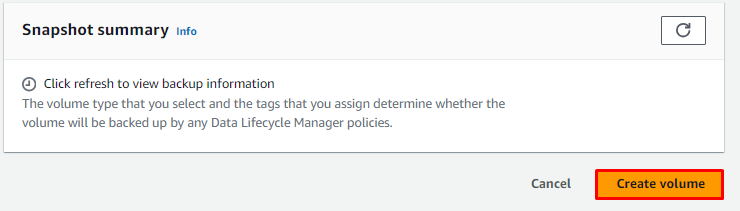
Step 7: Click Create volume.
To attach an EBS volume to an instance using the console
Step 8: In the navigation pane, choose Volumes.

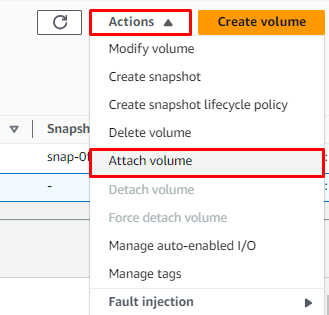
Step 9: Select the volume to attach and select Actions -> Attach volume.
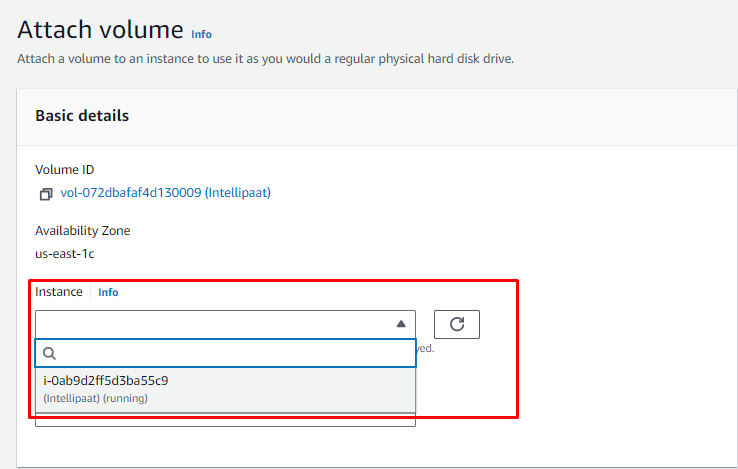
Step 10: For Instance, select the instance from the list of options.
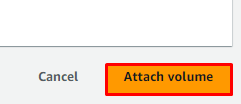
Step 11: Click Attach volume.
Mount volumes for Linux Based instances
Step 12: Once the Volume has been attached, connect to the EC2 instance
using Instance Connect option.
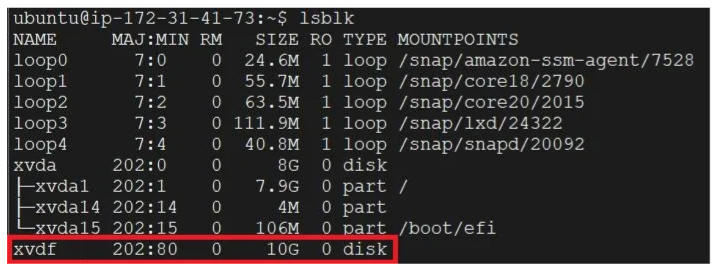
Step 13: Use the following command to list the available block devices and
identify your attached volume:
$ lsblk
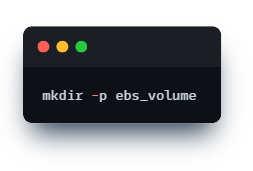
Step 14: Create a directory to be used as the mount point
$ mkdir -p ebs_volume
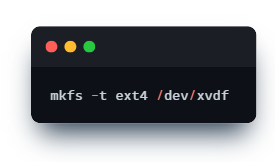
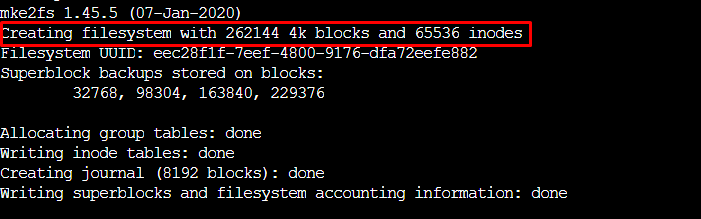
Step 15: Now use the below command to create a filesystem on the attached
volume:
$ mkfs -t ext4 /dev/xvdf
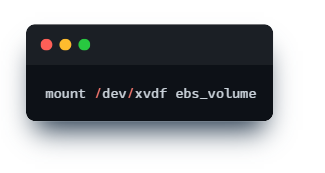
Step 16: Mount the EBS volume to the specified mount point:
$ mount /dev/xvdf ebs_volume

Mount volumes for Windows Based instances
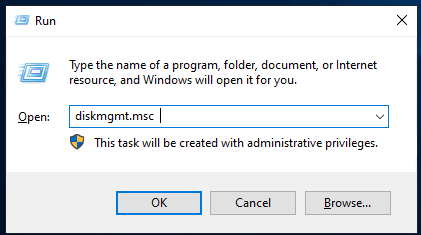
Step 17: Now that the EBS volume is attached to the instance, remote connect
to the instance, go to Start –> Run, and enter “diskmgmt.msc” to start the Disk
Management tool.
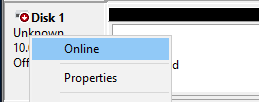
Step 18: In the Disk Management tool, right click on the new disk, which is
“Offline” right now and bring it “Online”.
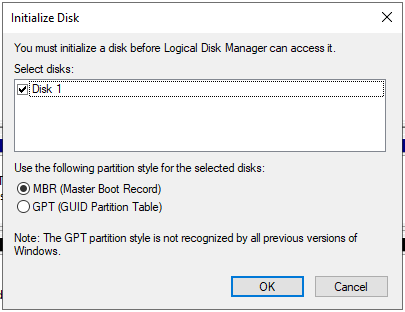
Step 19: The disk then needs to be initialized, right-click again and select
“Initialize Disk”

Step 20: Choose to initialize the disk with MBR
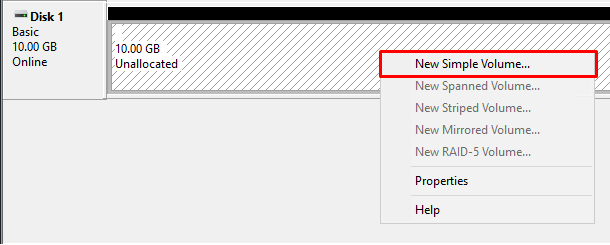
Step 21: Right-click on the unallocated space in the initialized disk and create a
“New Simple Volume“.
Step 22: Volume will probably take 5 minutes to format, and once it’s done you’ll
be able to see the drive.

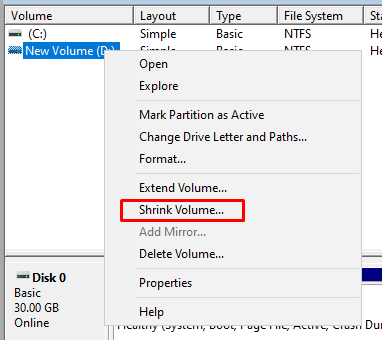
To Shrink or Expand the EBS volume
Step 23: To Shrink the volume size, right-click the Drive and select Shrink
Volume, now, specify the desired capacity.
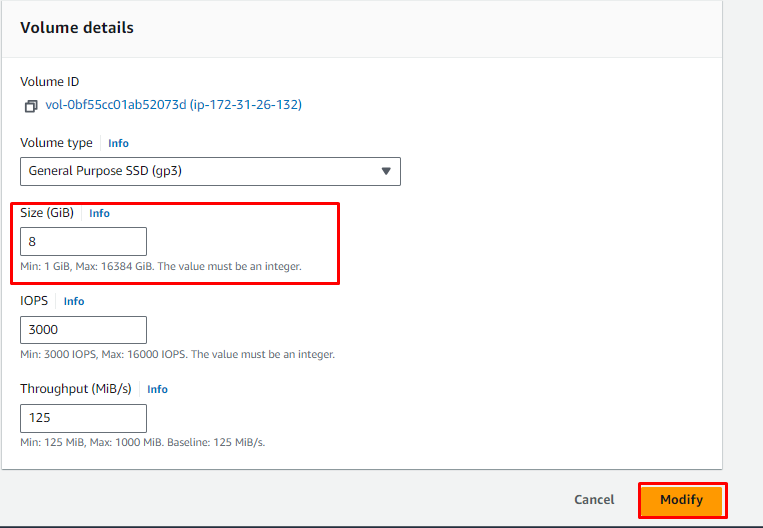
Step 24: To Expand the volume size, In the Volumes pane, select the check box
for the volume you want to expand.

Step 25: From Actions, choose Modify volume
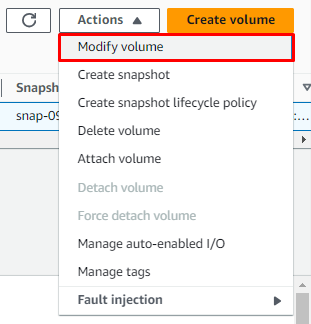
Step 26: Under Volume details, enter the Size.
Step 27: Choose Modify.