Amazon FSx for Windows
Step 1: Open the Amazon FSx console at https://console.aws.amazon.com/fsx/.
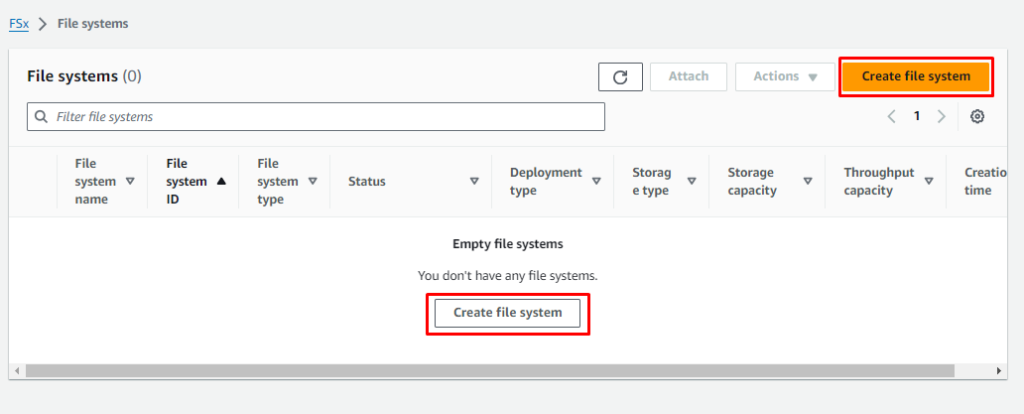
Step 2: From the dashboard, click on Create file system to begin creating your
file system.
Step 3: Choose Amazon FSx for Windows File Server, and then click on Next.

Step 4: For the Creation method, select Quick create.

Step 5: In the Quick configuration section, provide a name for your file system.

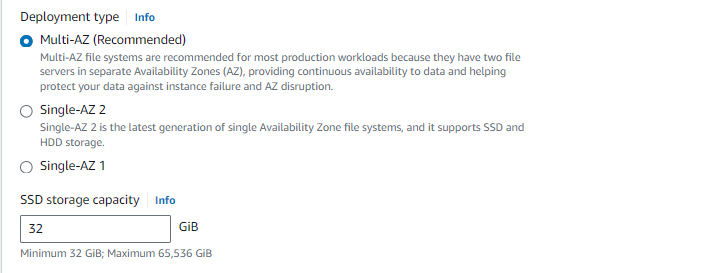
Step 6: For Deployment type, choose Multi-AZ. Provide the minimum storage
capacity, i.e., 32 GiB.
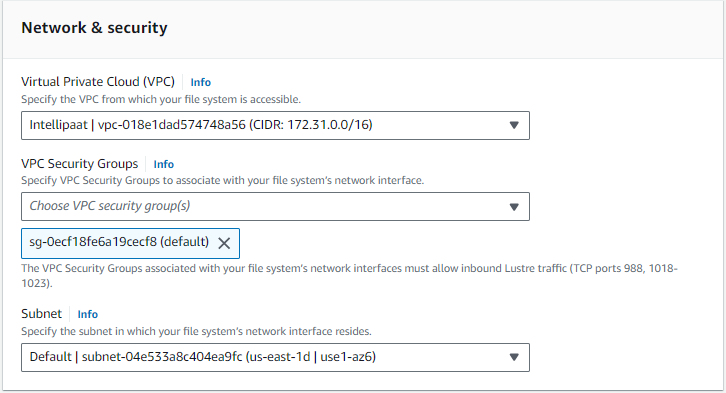
Step 7: In the Network & security section, choose your Virtual Private Cloud
(VPC) and VPC Security Groups.
Step 8: Click on Next.
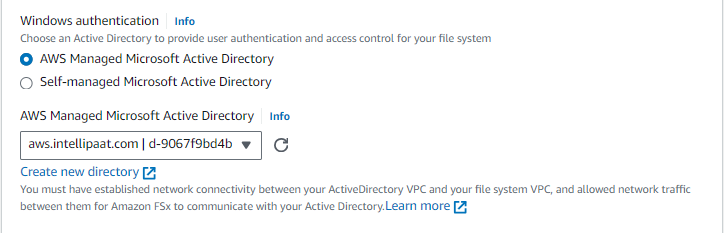
Step 9: For Windows authentication, choose AWS Managed Microsoft Active
Directory and select your directory.
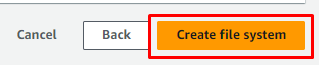
Step 10: Click Next, and on the Review page, click on Create file system.
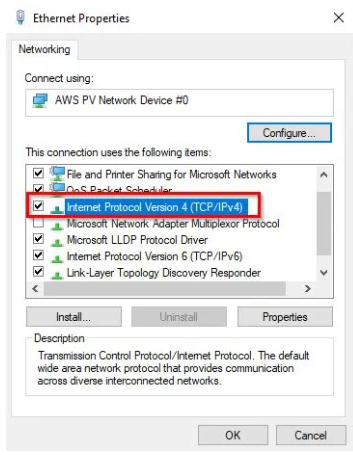
Step 11: To mount the FSx to the Windows instance, connect to the instance
using any Remote Desktop Protocol client.
Step 12: Open Internet Protocol Version 4 settings from the Control Panel ->
Network and Security -> Change adapter settings.
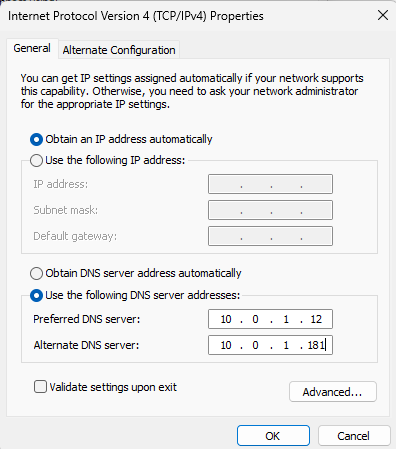
Step 13: Select Use the following DNS server addresses and change the
Preferred DNS server and Alternate DNS server addresses to the IP
addresses.
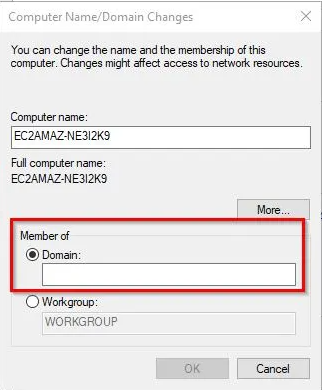
Step 14: Next, open the System Properties dialog box, click the Computer
Name tab, and then click Change.

Step 15: Enter the fully qualified name of your AWS Directory Service directory
on the Computer Name/Domain Changes page, and click OK.
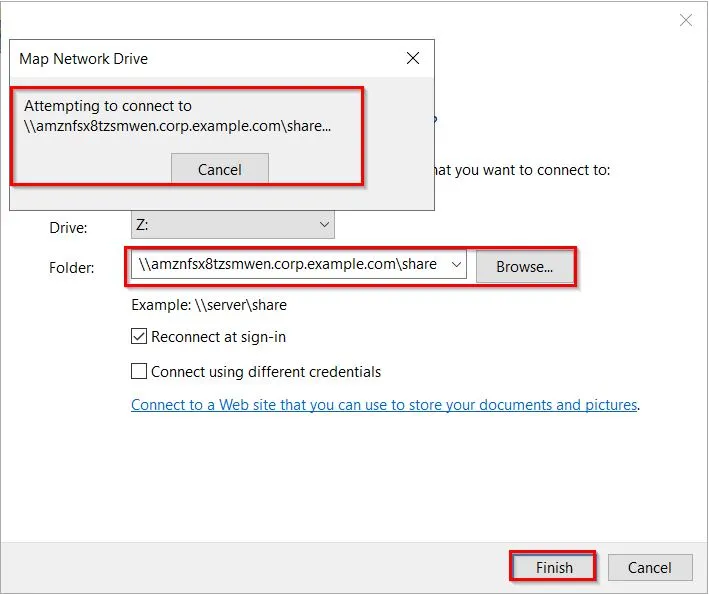
Step 16:Open File Explorer on the Windows Instance.Right click in the menu
for Network in the navigation pane on the left and click the Map Network Drive
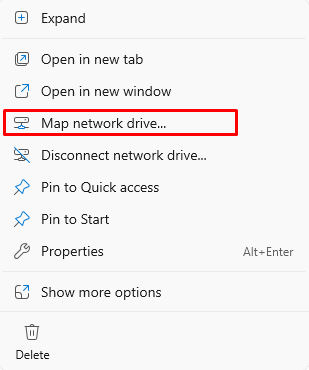
Step 17: Once the dialog box pops up for mapping a drive, select the drive letter
(depending on your choice). For the Folder option, provide the file system DNS
name and also share name in the section.