Step 1: Sign in to the Amazon FSx service console with the link
https://console.aws.amazon.com/fsx/
Step 2: On the dashboard, select Create file system to begin the FSx file
system creation.

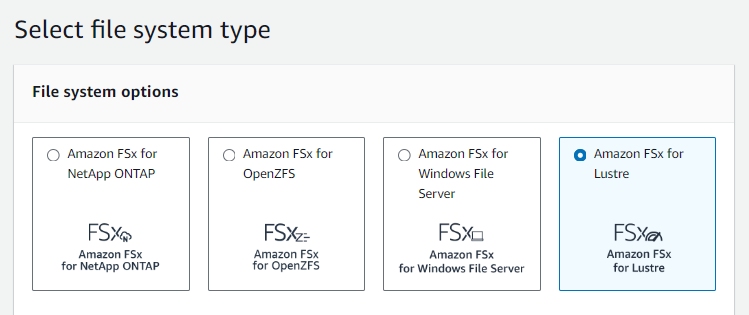
Step 3: Choose Amazon FSx for Lustre, and then choose Next to display the
Create File System page.
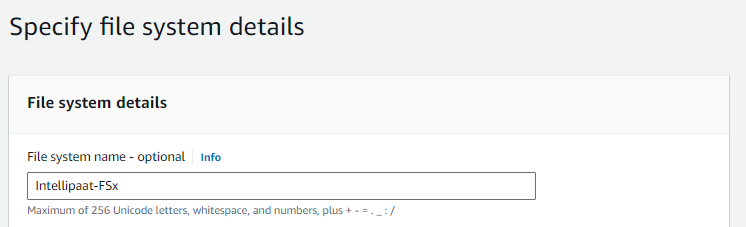
Step 4: On the Specify file system details page, under File system details,
provide a name for your file system.
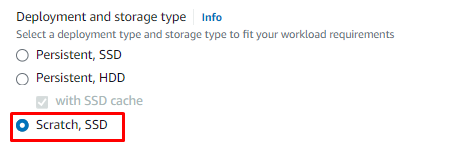
Step 5: For Deployment and storage type, choose Scratch SSD.
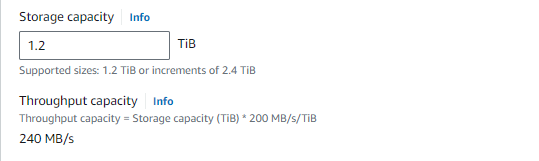
Step 6: Provide Storage capacity as 1.2 TiB.
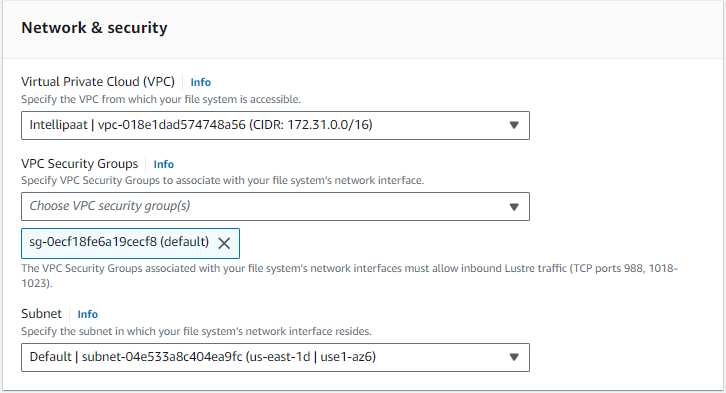
Step 7: In the Network & security section, choose your Virtual Private Cloud
(VPC) and VPC Security Groups.
Step 8: Choose Next.
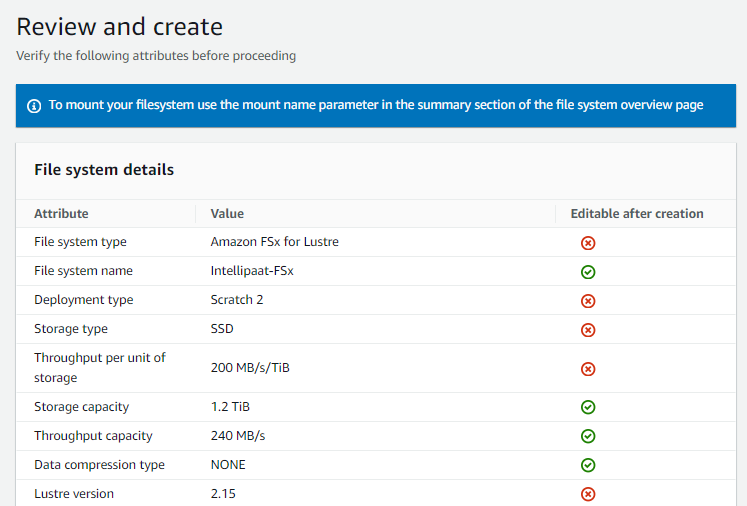
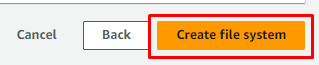
Step 9: On the Review and create page, go through the configurations and click
Create file system.
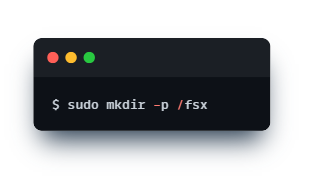
Step 10: Make a directory on your FSx for Lustre file system for the mount
point.
$ sudo mkdir -p /fsx
Step 11: Mount the FSx file system to the directory created in the previous step.
Use the following command for the same.
$ sudo mount -t lustre -o relatime, flock 123.456.789.0@tcp:/fsx /fsx
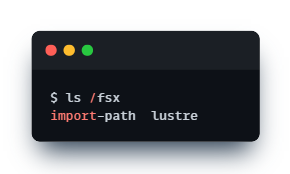
Step 12: Verify that the mount command was successful by listing the contents
of the directory.
$ ls /fsx