Prerequisites
- Create 2 subnets and attach them to separate route tables.
Add a NAT Gateway to an Existing VPC
Step 1: Open the Amazon VPC console at
https://console.aws.amazon.com/vpc/
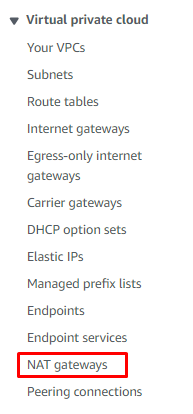
Step 2: In the navigation pane, choose NAT gateways.
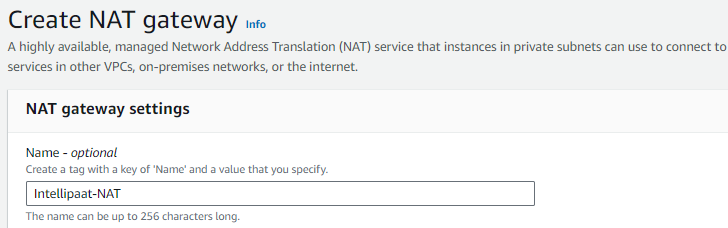
Step 3: Choose Create NAT gateway.

Step 4: Specify a name for the NAT gateway.
Step 5: Select the subnet to create the NAT gateway

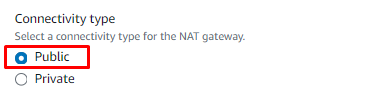
Step 6: For the Connectivity type, leave the default Public selection to create a
public NAT gateway.
Step 7: Choose an Elastic IP allocation ID to assign an EIP to the NAT
gateway.

Step 8: Choose Create NAT gateway

Associate a Gateway with a Route Table
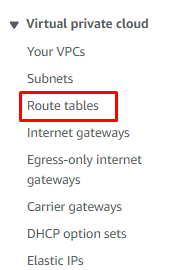
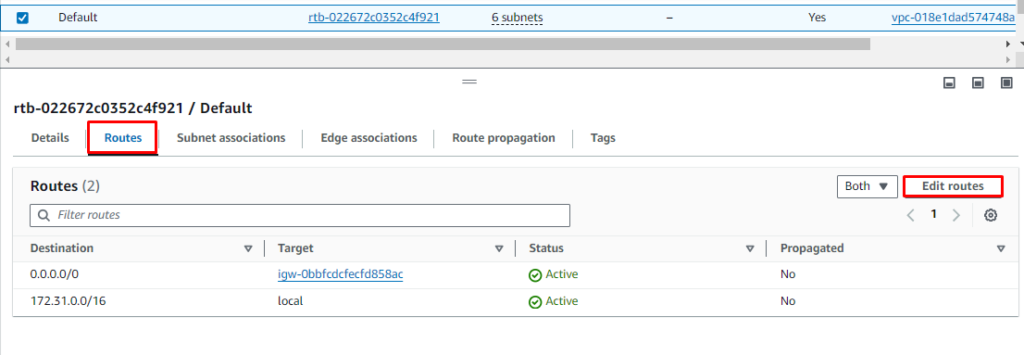
Step 9: In the navigation pane, choose Route tables, and then select the route
table.
Step 10: From the Routes tab, choose Edit routes.
Step 11: Select Add Route, add 0.0.0.0/0 in the Destination field, and choose
your NAT Gateway in the Source field.

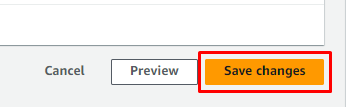
Step 12: Choose Save changes.
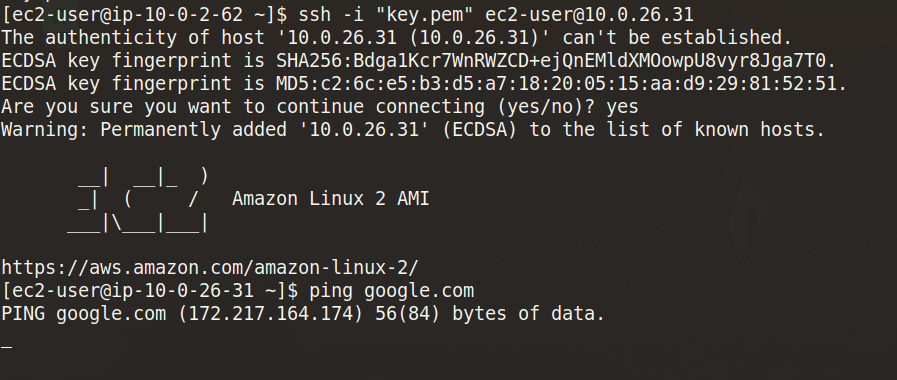
Step 13: Now, connect to an EC2 instance in the private subnet.
Step 14: Now, run a ping test on www.google.com. If the NAT Gateway is
successfully attached, you will receive a reply from the server.