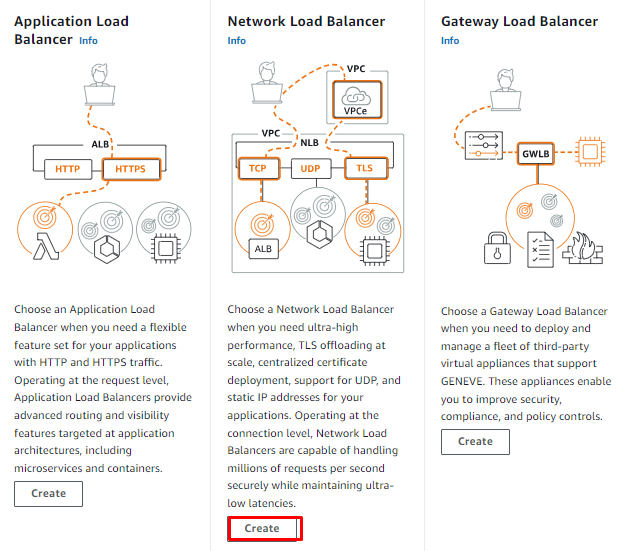
Launch a Network Load Balancer (NLB)
Step 1: Sign in to the AWS Management Console and open the Amazon EC2
console at https://us-east-1.console.aws.amazon.com/ec2/
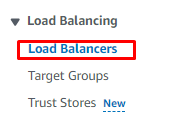
Step 2: In the navigation pane, choose Load Balancers.
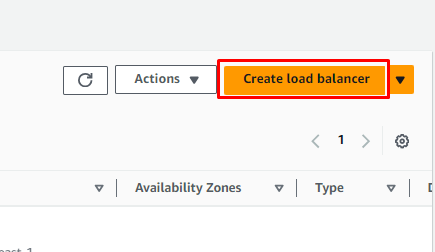
Step 3: Choose Create Load Balancer.
Step 4: Under Network Load Balancer, choose Create.
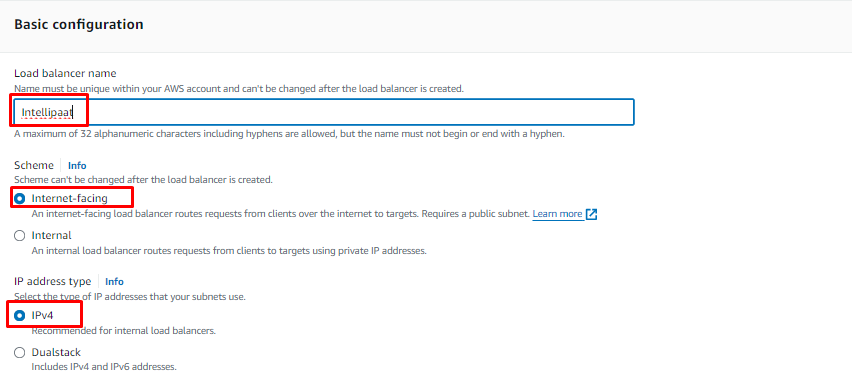
Step 5: Basic configuration:
● For Load balancer name, enter a name for your load balancer.
● For Scheme, choose Internet-facing or Internal.
● For IP address type, choose IPv4 or Dualstack. Use IPv4 if your clients use IPv4 addresses to communicate with the load balancer. Choose Dualstack if your clients use both IPv4 and IPv6 addresses to communicate with the load balancer.
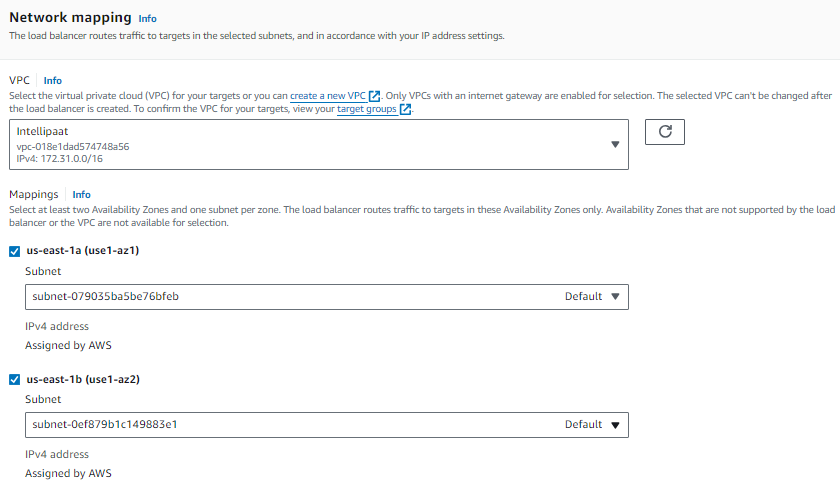
Step 6: Under Network Mapping, choose your VPC and Availability zones
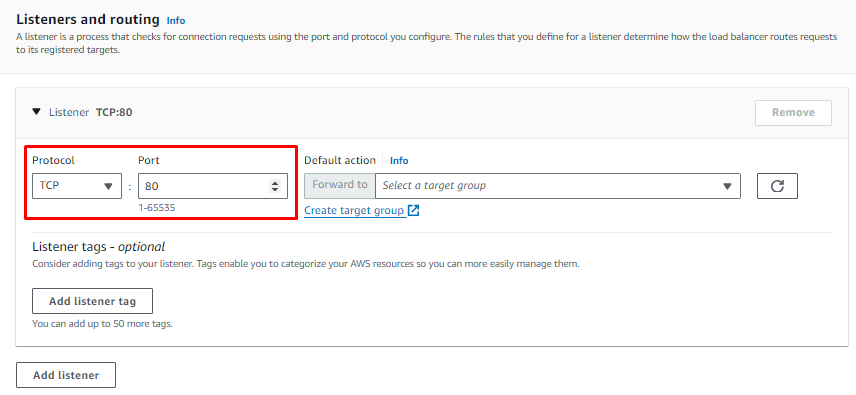
Step 7: Under Listeners and routing, For the Default action, choose the target
group that you created. (TCP Protocol here)
Step 8: Choose Create load balancer.

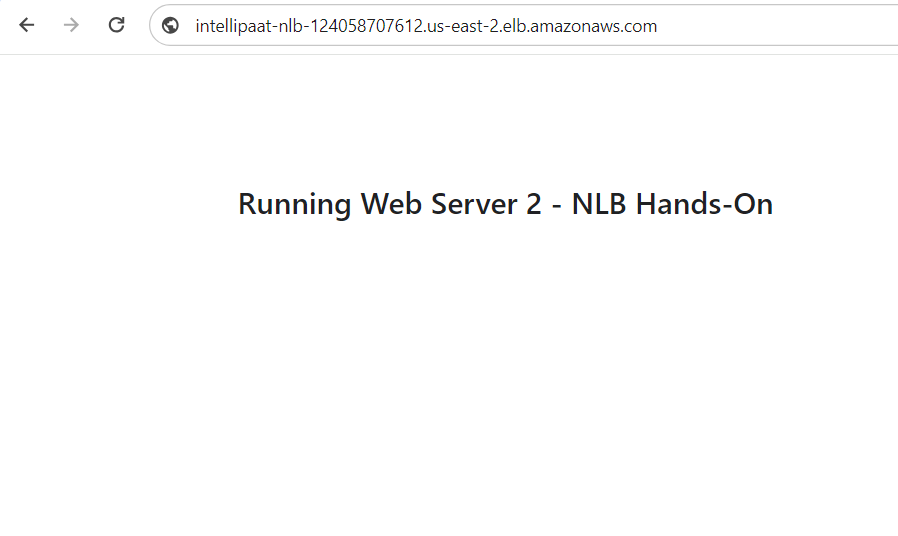
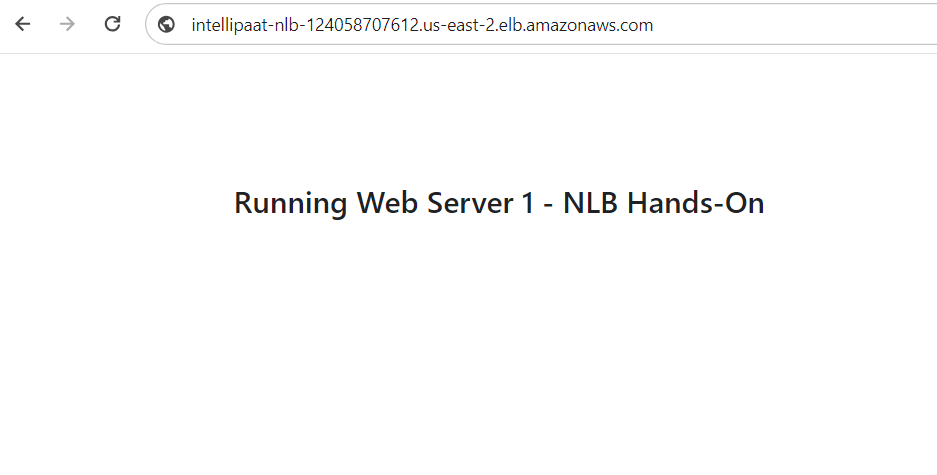
Step 9: Once done, copy the Network Load Balancer’s DNS and paste it on the
browser, and check if the load balancer distributes load by refreshing the web
page.