Overview
Elastic IP addresses are static IPv4 addresses designed for dynamic cloud computing. Unlike standard public IP addresses (which may change if an instance is stopped or terminated), an Elastic IP address remains associated with your AWS account until you explicitly release it.
This makes Elastic IPs valuable for:
- Maintaining a consistent IP address for web servers or applications.
- Supporting applications that depend on DNS stability.
- Ensuring that your application remains accessible even if the underlying EC2 instance is stopped and restarted.
By assigning an Elastic IP to your EC2 instance, you ensure continuity and reliability of connectivity.
Prerequisites
Before starting this lab, you should have a basic understanding of:
- Amazon EC2 (launching and managing instances)
- Elastic IP addresses in AWS
If you are new to these concepts, complete the following lab first:
- Creating an Amazon EC2 Instance (Linux)
Objective
The objective of this lab is to:
- Allocate a new Elastic IP address in AWS.
- Associate the Elastic IP with an existing EC2 instance.
- Verify connectivity using the Elastic IP.
- Understand how Elastic IPs provide a static, reliable endpoint for applications.
- Learn how to release an Elastic IP when it is no longer required.
Lab Steps
Create an EC2 Instance
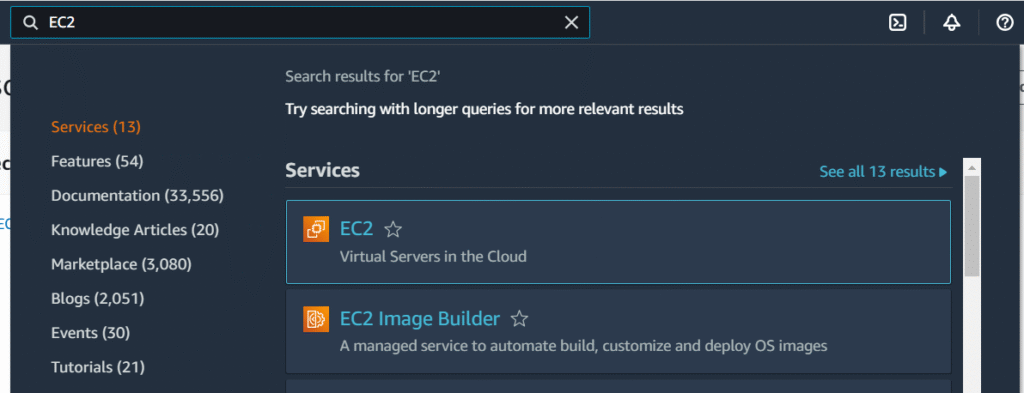
- Navigate to EC2 Dashboard
- Launch an EC2 Instance with the following configuration:
•Name: MyWebServer
•AMI: Amazon Linux - Instance type: t2.micro
- Key pair: (You can either create a new one or Proceed without a key pair in this lab.) If you choose to create a new one follow the following:
- Key pair name:myKeyPair
- KeyPairKey pair type: RSA
- Private key file format: .pem
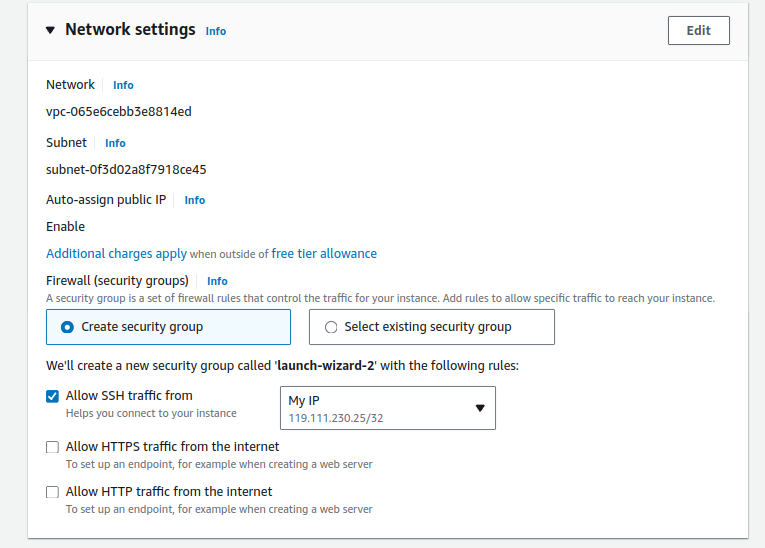
- Network settings: (Click “Create security group”)
- Auto-assign public IP: Select Enable
- Firewall (security groups): tick on the Create security group
- Ensure that Allow SSH traffic from is checked and is My IP
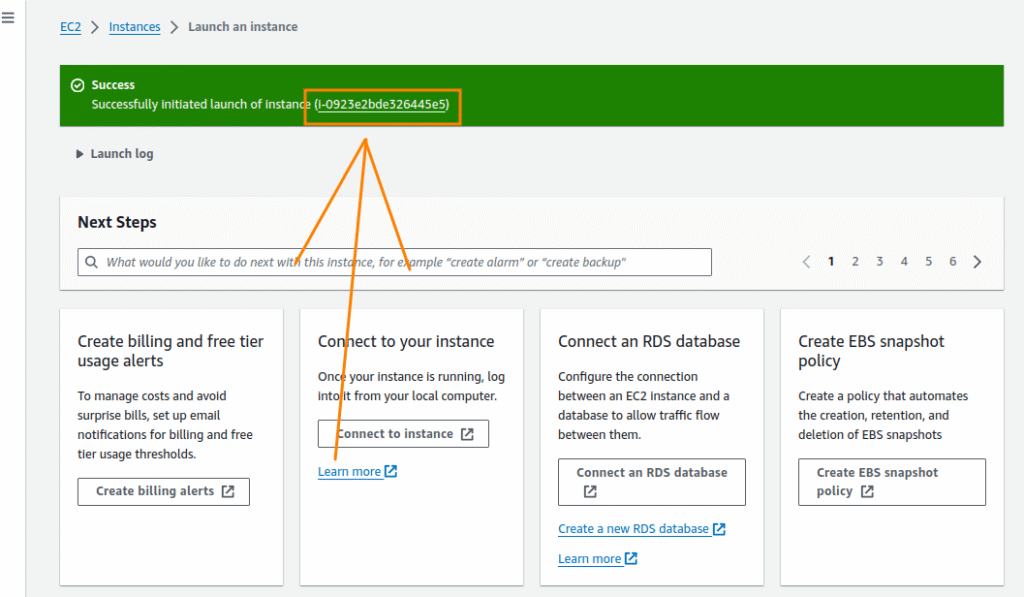
Click Launch Instance.
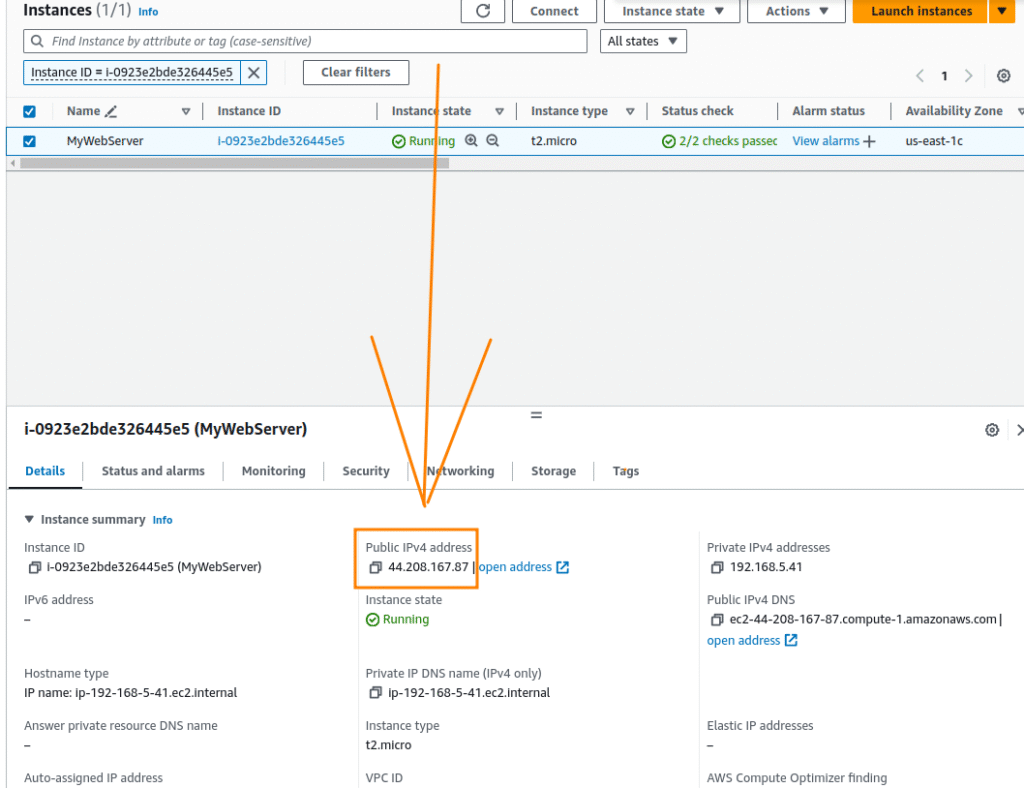
Checking the IP address of the Instance
Checking the IP address of the Instance
- Click on the Select Box beside MyWebServer Instance to check the Public IPv4 address

- Check the IP Address:
•Under the “Details” tab, note the “Public IPv4 address“. This is the current IP address assigned to your instance.
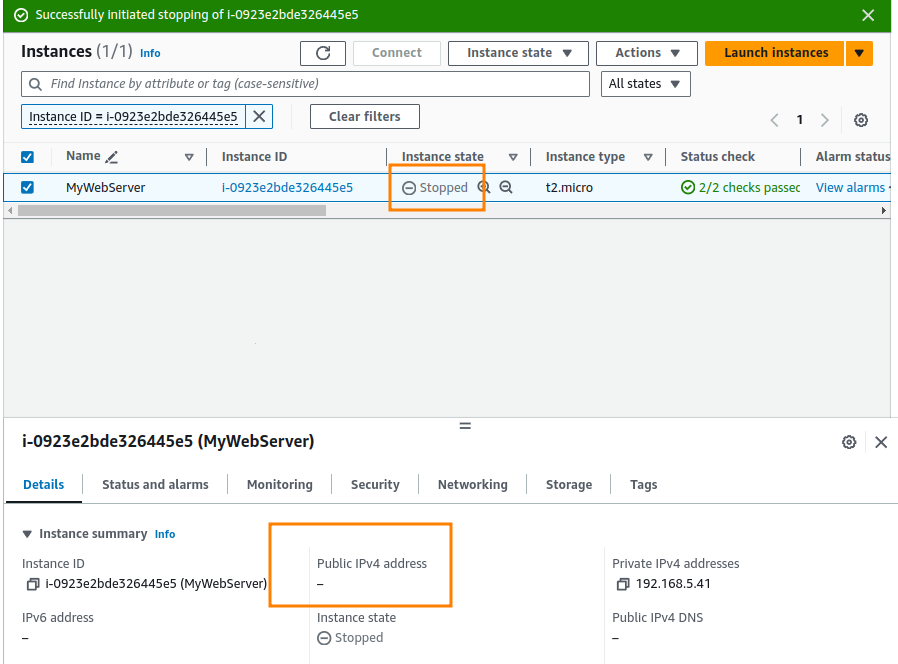
Note: When an EC2 instance is stopped and started again, it may receive a new public IP address if it was previously using a dynamic public IP assigned by AWS. This can cause disruptions in connectivity as the previous IP address becomes invalid and the instance is assigned a new IP address. Services dependent on the old IP will fail to connect until they are updated with the new IP address.
You can test this by stopping your instance:
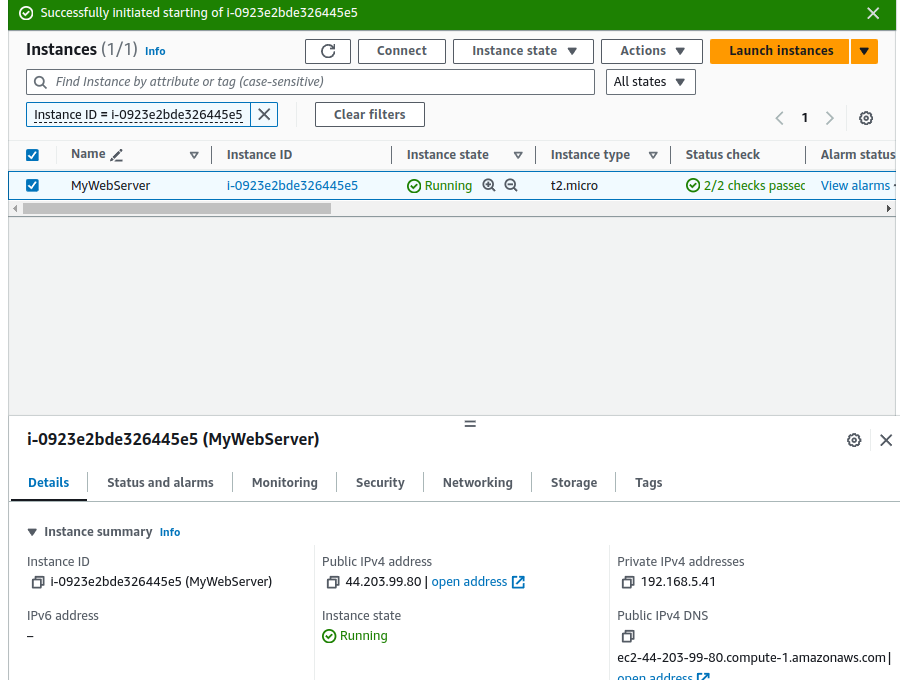
Then, start it again:
Allocate an Elastic IP Address
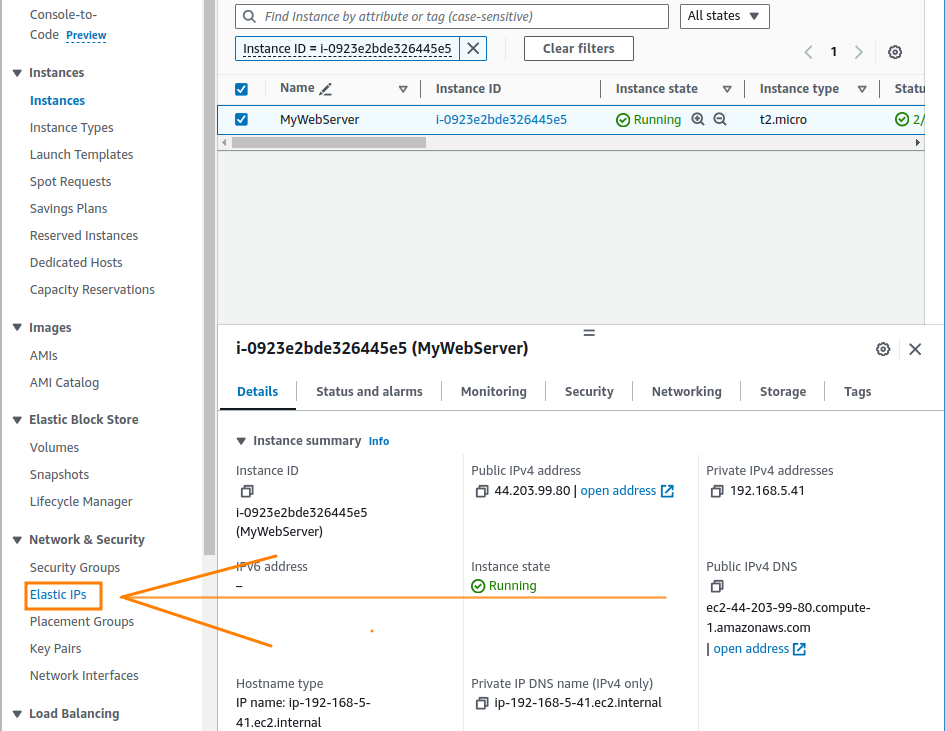
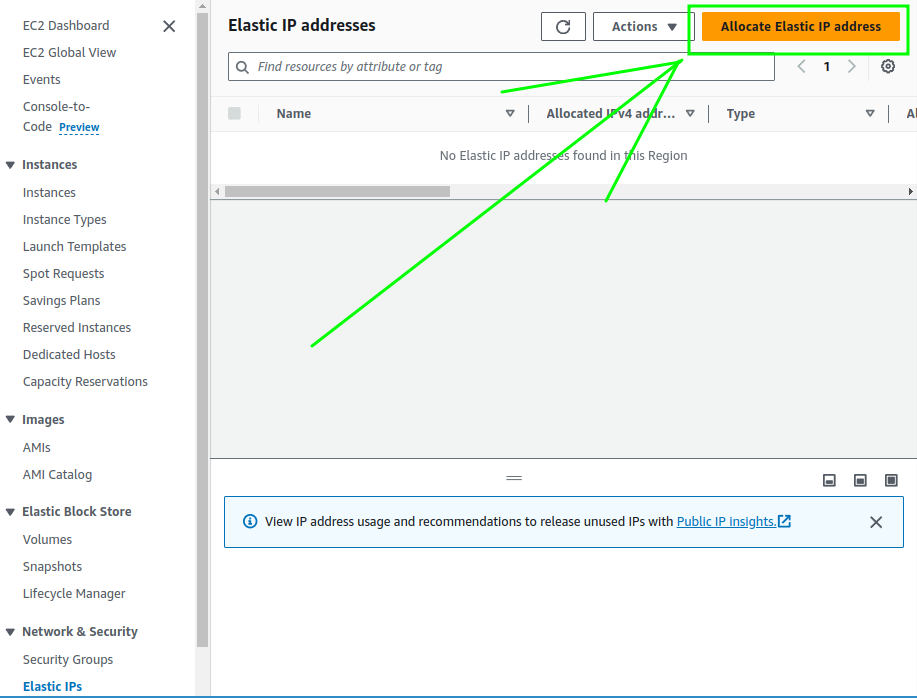
- In the EC2 Dashboard, click on “Elastic IPs” under the “Network & Security” section in the left-hand menu.
Click on the “Allocate Elastic IP address” button at the top.
Choose “Amazon’s pool of IPv4 addresses” , leave the rest as default and click “Allocate“.
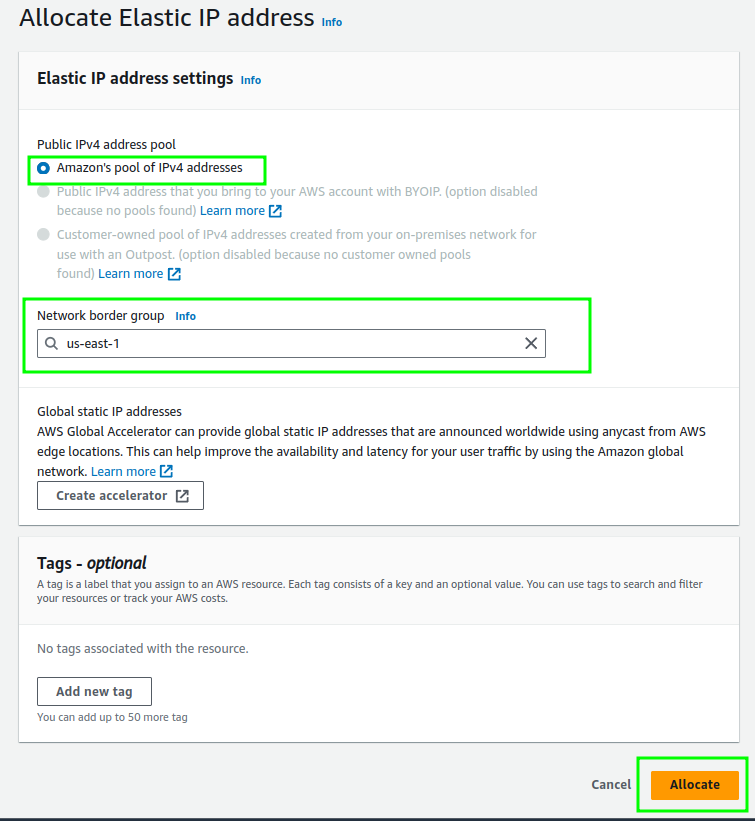
Confirm Allocation

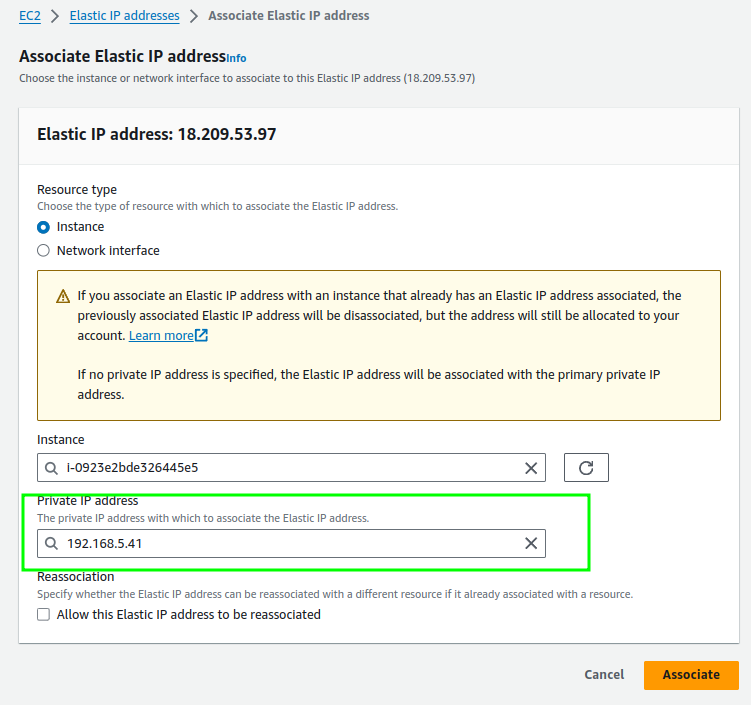
Associate the Elastic IP Address with Your EC2 Instance
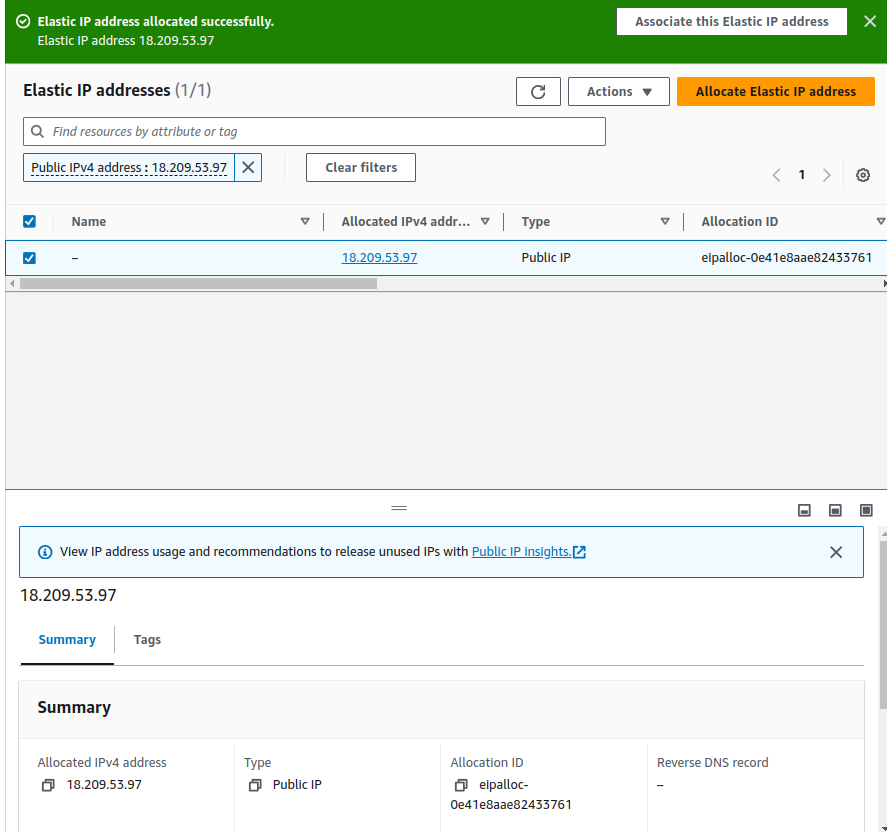
In the “Elastic IPs” section, select the Elastic IP address you just allocated.
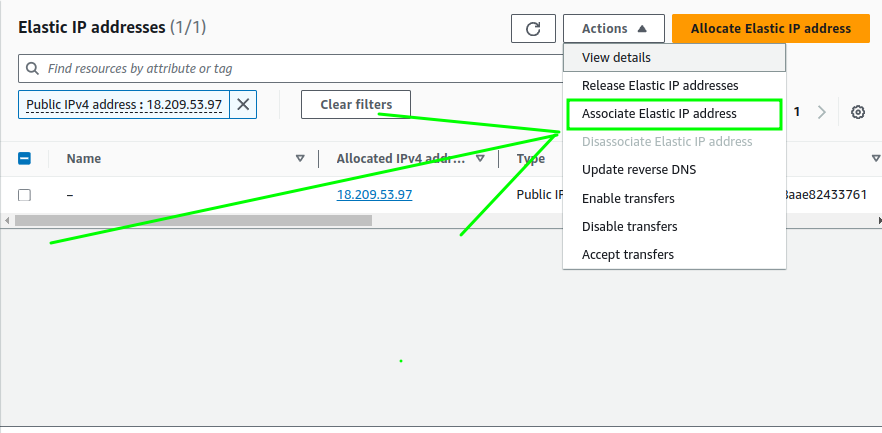
Click on the “Actions” button at the top and select “Associate Elastic IP address”.
- In the “Associate Elastic IP address” dialog box:
•For “Instance“, select your EC2 instance from the dropdown list.

• For “Private IP address”, select the private IP address of the instance (usually pre-filled).
•Click “Associate”.
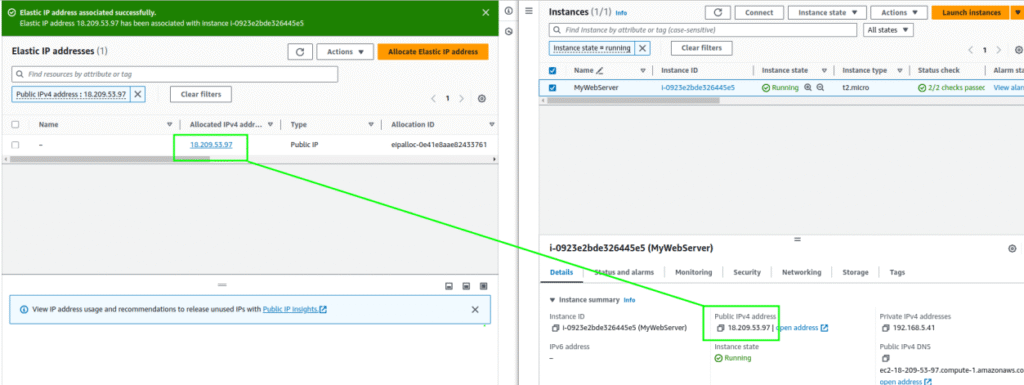
- Verify Association:
Click “Associate”.

- Verify Association:
•Go back to the “Instances” section and select your instance.
•Under the “Description” tab, verify that the “Public IPv4 address” now shows the Elastic IP address you allocated.