To convert a .pem file to a .ppk file (PuTTY Private Key) for use with PuTTY or other tools that require .ppk files, you need to use PuTTYgen, a tool provided by PuTTY. Here’s how to do it:
Steps to Convert .pem to .ppk:
- Download and Install PuTTYgen:
- If you haven’t already, download and install PuTTY (which includes PuTTYgen) from PuTTY’s official website.
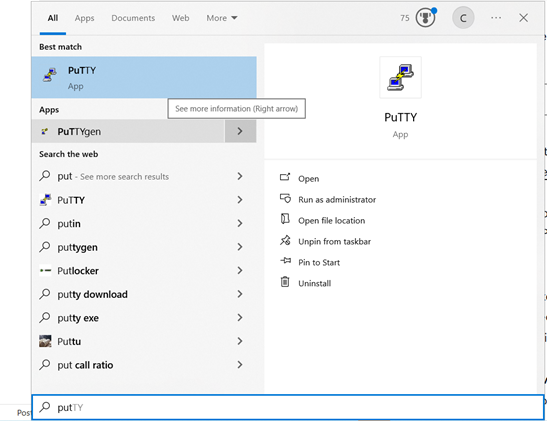
- Open PuTTYgen:
- After installation, open the PuTTYgen application. You can find it in your Start Menu under PuTTY or search for “PuTTYgen” directly.
- After installation, open the PuTTYgen application. You can find it in your Start Menu under PuTTY or search for “PuTTYgen” directly.
- Load the
.pemFile:- In PuTTYgen, click on Load.
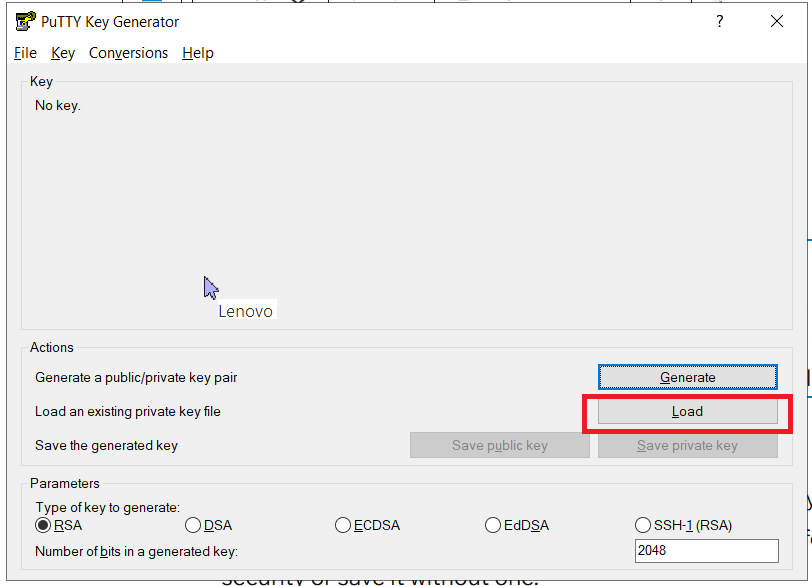
- In the file dialog, change the file type filter to All Files (.).
- Navigate to the
.pemfile you downloaded from AWS (for example, the key pair you use to connect to your EC2 instance) and select it. 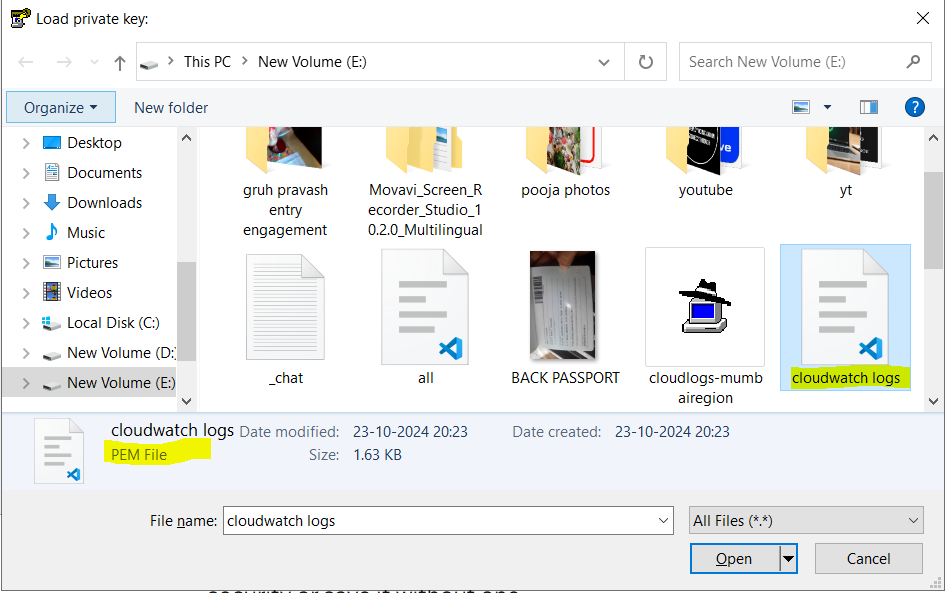
- Convert to
.ppk:- Once the
.pemfile is loaded, click on Save private key. - You will be prompted with a warning about saving the key without a passphrase. You can choose to either add a passphrase for extra security or save it without one.
- Save the file with a
.ppkextension (e.g.,my-key.ppk).
- Once the
- Use the
.ppkKey:- You can now use this
.ppkfile with PuTTY or other tools that require the.ppkformat for authentication.
- You can now use this
Example with PuTTY:
- When you want to connect to your EC2 instance using PuTTY, open the PuTTY application.
- Under the Session category, input the hostname or IP address of your EC2 instance.
- Go to Connection → SSH → Auth.
- Click on Browse and select the
.ppkkey you saved earlier. - Click Open to initiate the connection to your EC2 instance.
That’s it! You’ve successfully converted your .pem file to a .ppk file for use with PuTTY or other tools that require the .ppk format.