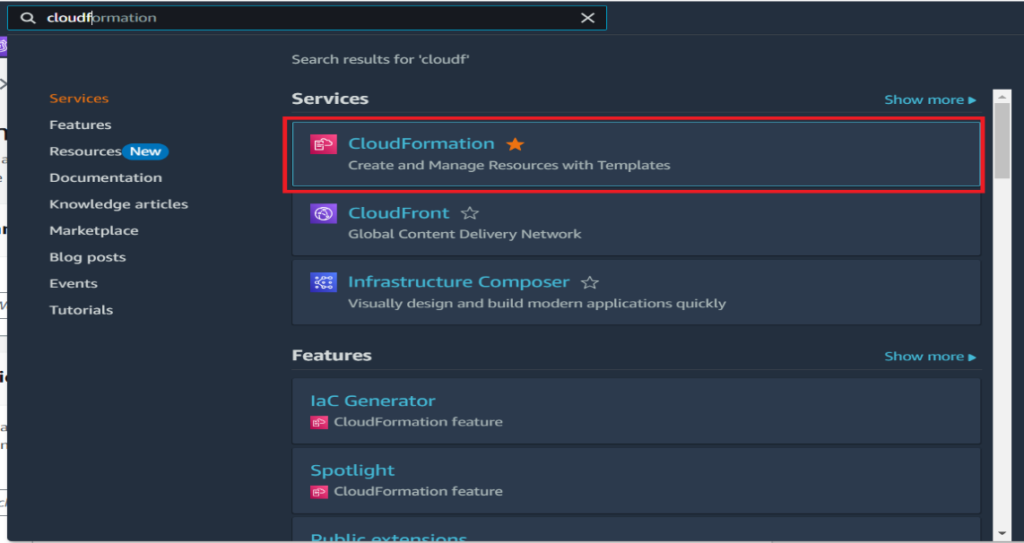
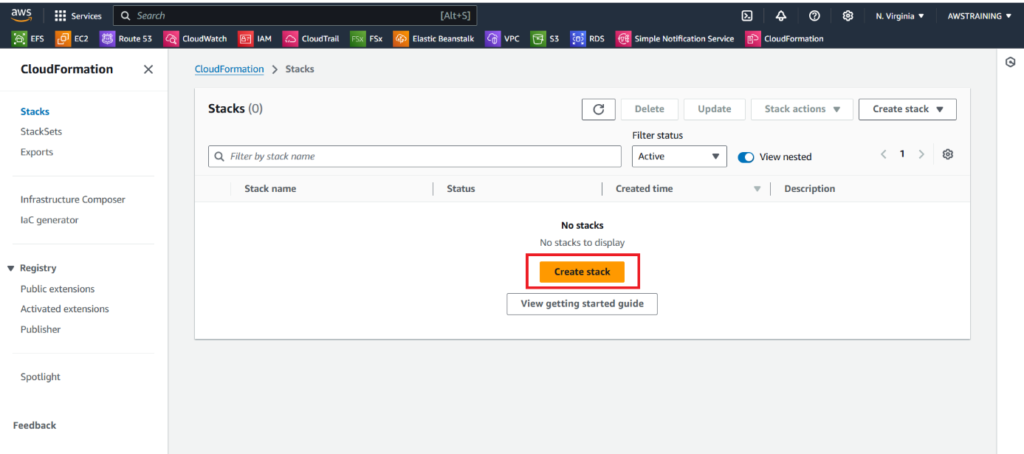
Login to AWS Management Console then Search Cloud Formation. you will see the cloud formation and click the Cloud Formation.
In cloud formation need to create the templates
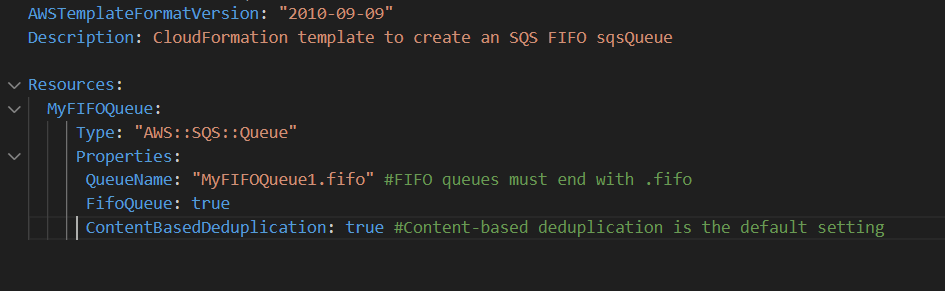
Task 1: Create a FIFO SQS Queue Using CloudFormation
AWSTemplateFormatVersion: '2010-09-09'
Description: CloudFormation to create FIFO SQS Queue

Resources:
  MyFifoQueue:
    Type: AWS::SQS::Queue
    Properties:
      QueueName: my-fifo-queue.fifo
      FifoQueue: true
      ContentBasedDeduplication: true

Outputs:
  FifoQueueURL:
    Description: URL of the FIFO Queue
    Value: !Ref MyFifoQueue
ContentBasedDeduplication: true #Content-based deduplication is the default setting After complete the code you need to save .yaml file. Save this file as sqs-fifo-queue.yaml.
I used For this code editor is visual studio.This is the visual studio code editor download link.
https://code.visualstudio.com/
Upload the Template to CloudFormation.
Log in to your AWS Management Console.
- Navigate to the CloudFormation service.
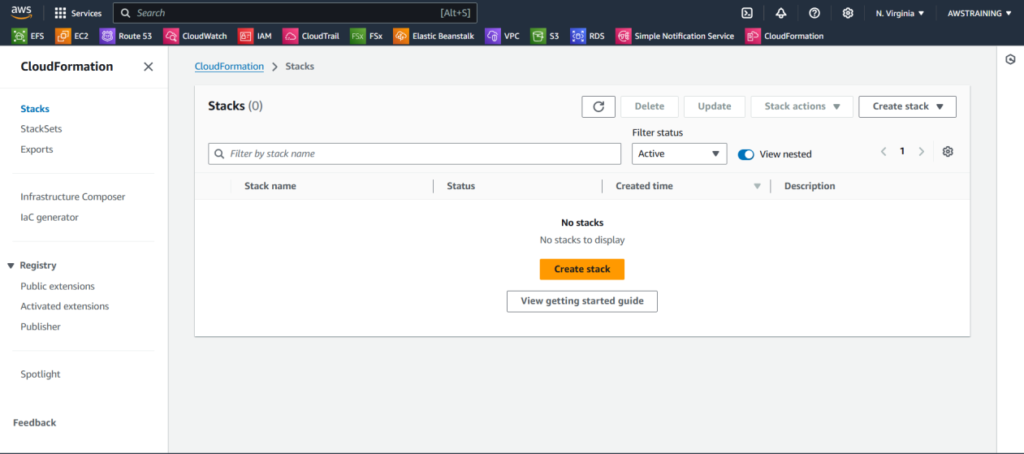
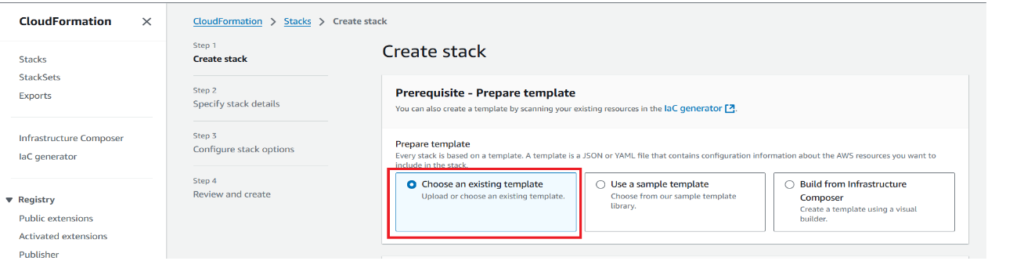
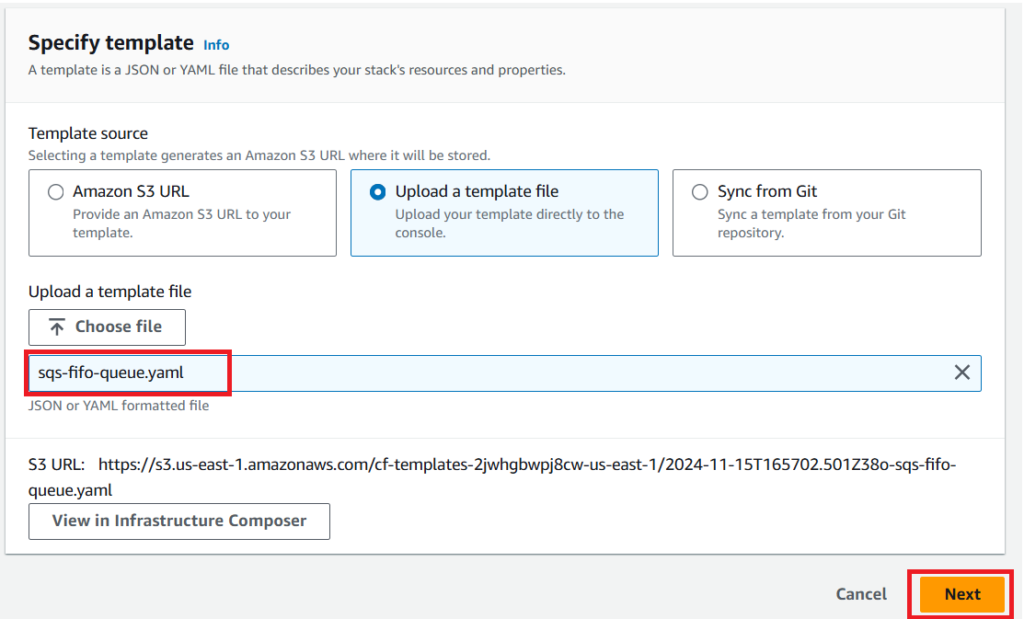
- Click Create Stack and select with new resources (standard).
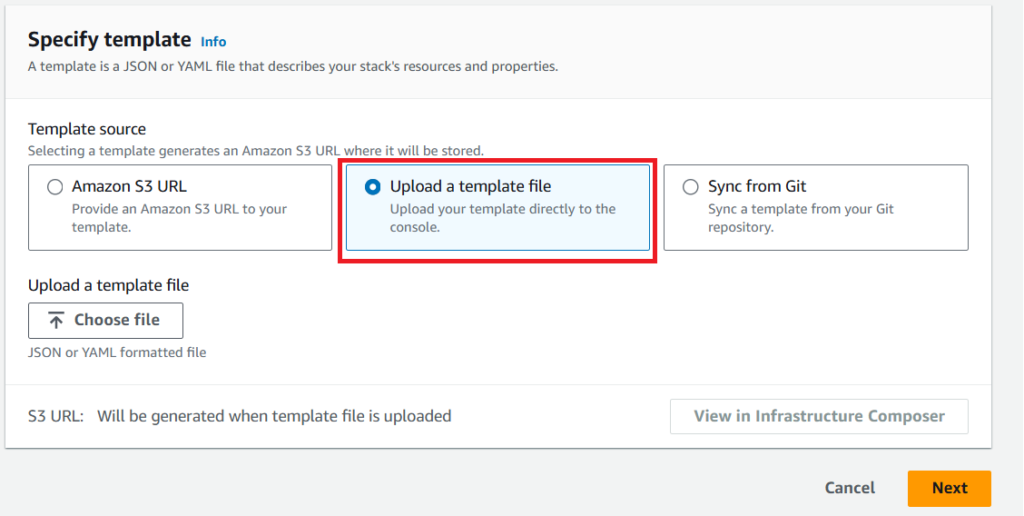
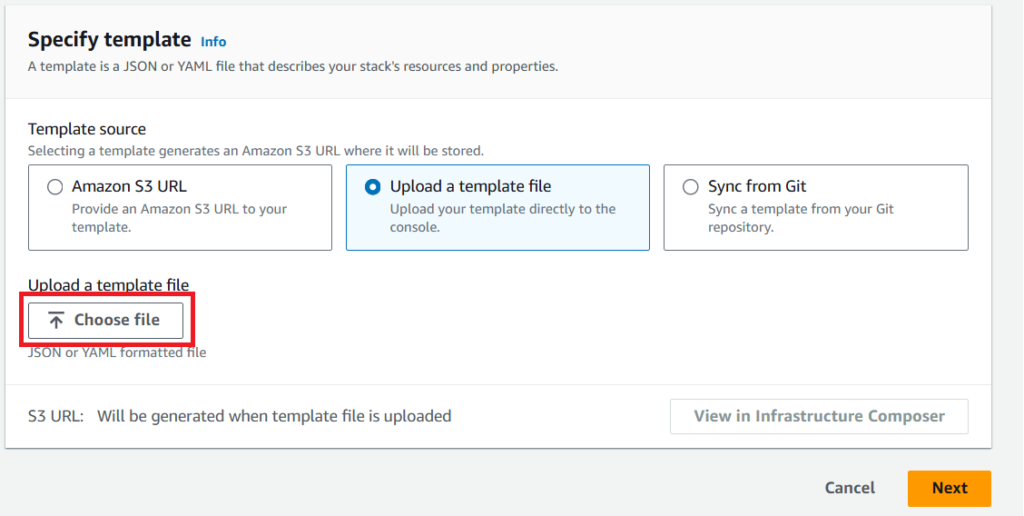
- Choose Upload a template file and upload the sqs-fifo-queue.yaml file.
•Click Next
Then Open This Page
Then Click Create Stack
After Click the Create stack You will open Like this page.
Then
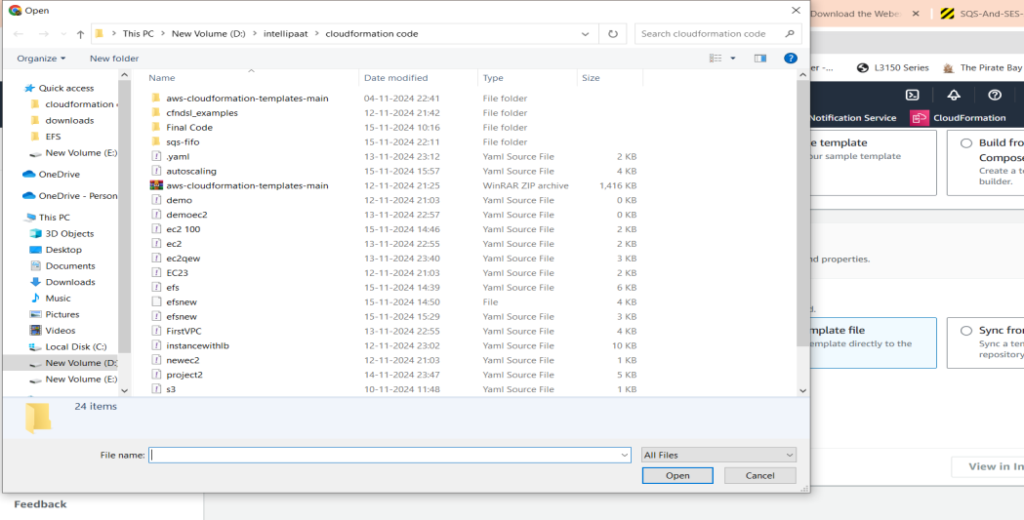
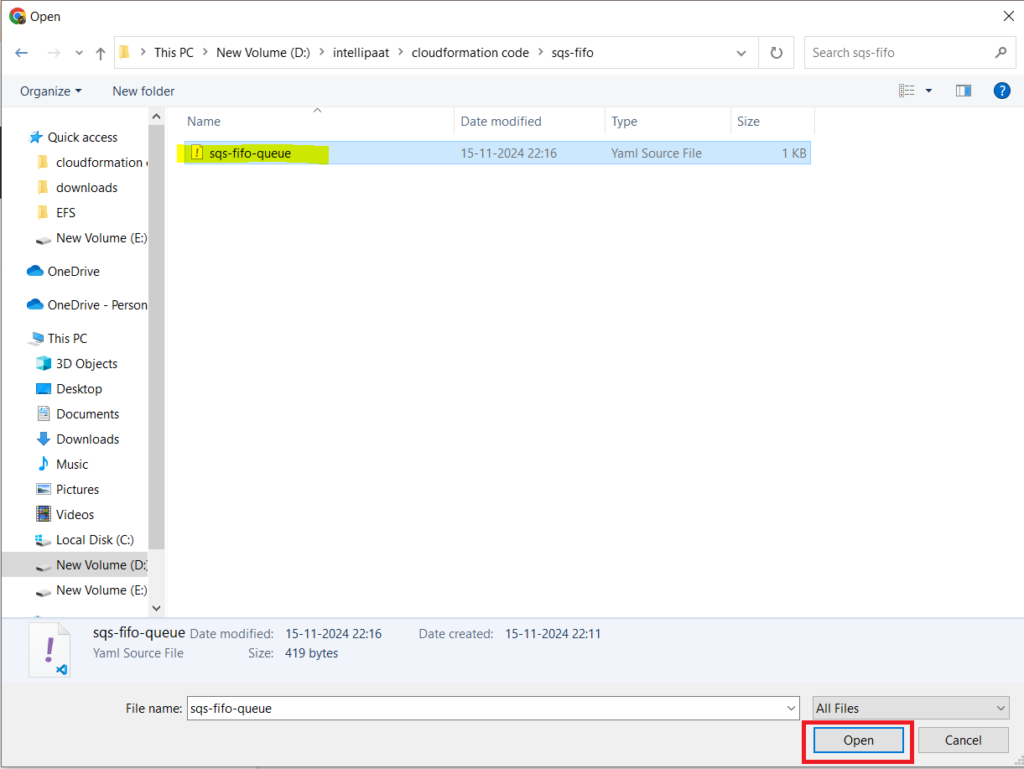
Click Open
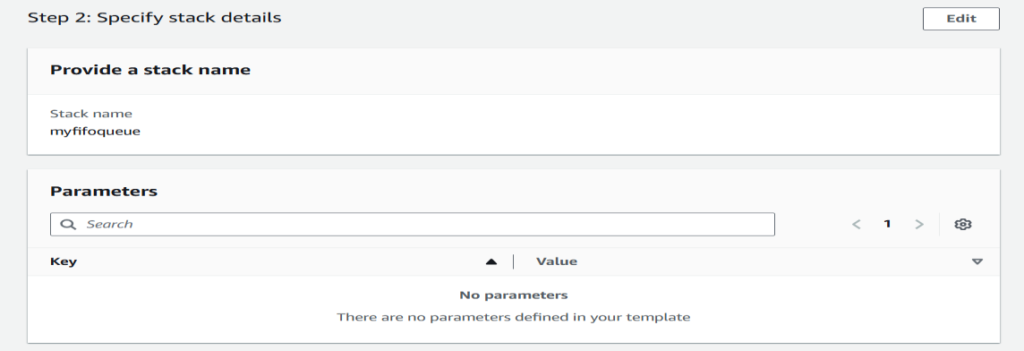
Click Next.
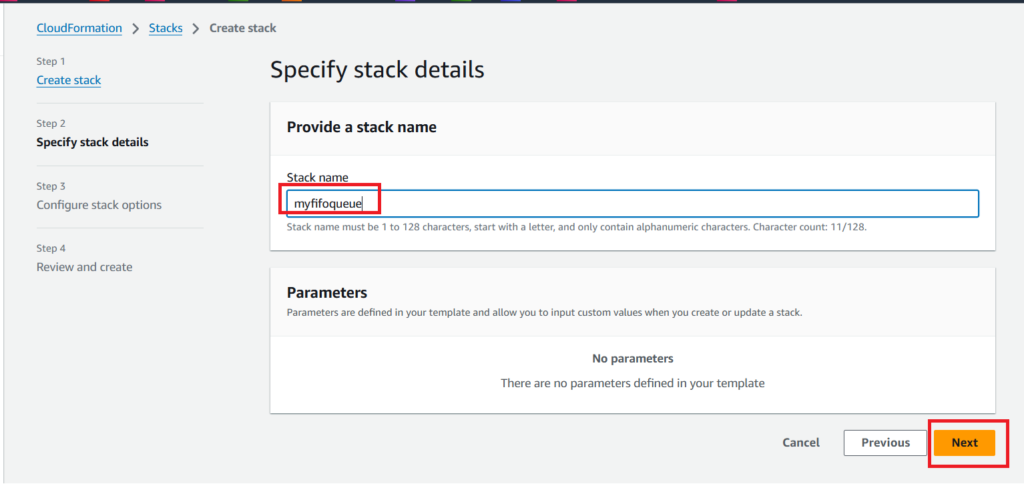
Stack Name myfifoqueue
Then Click Next
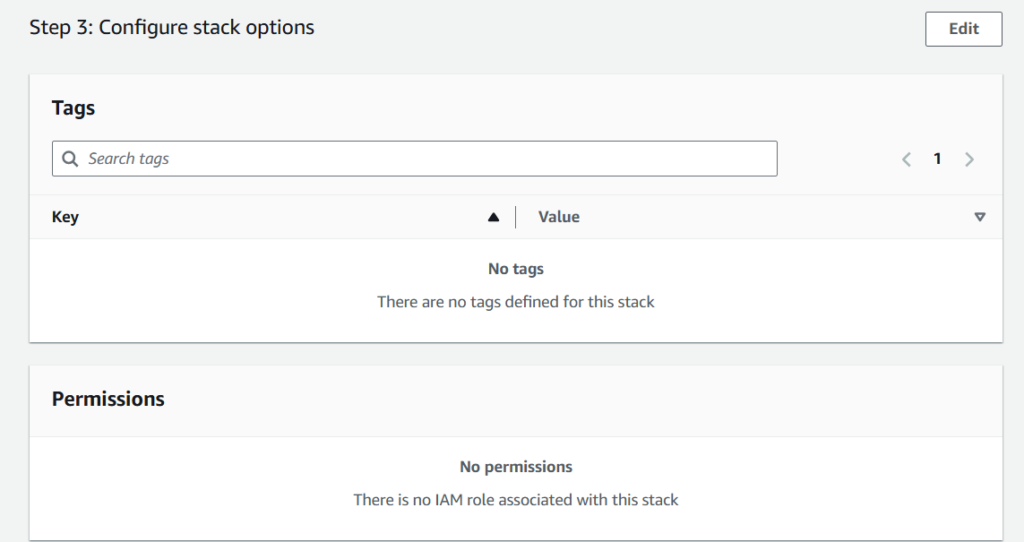
After You Will see Configure stack options
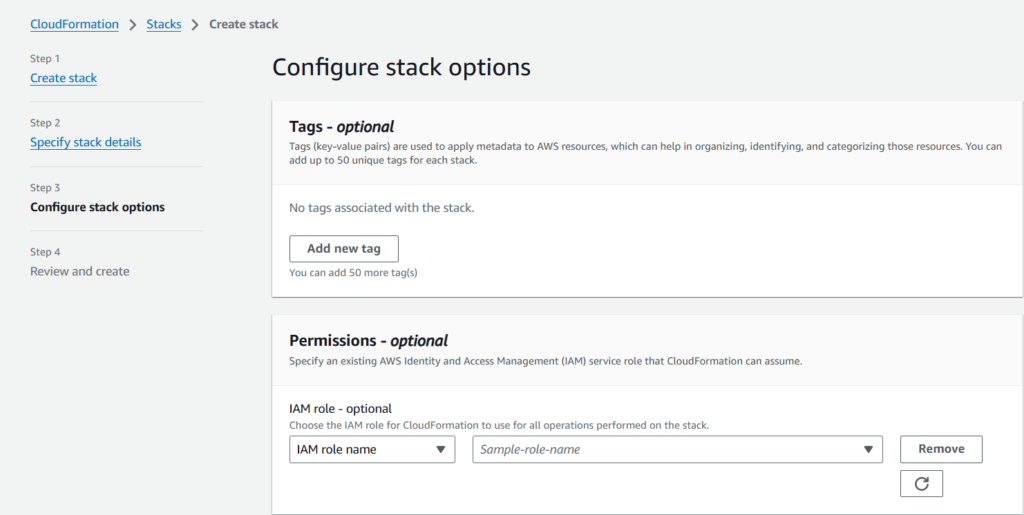
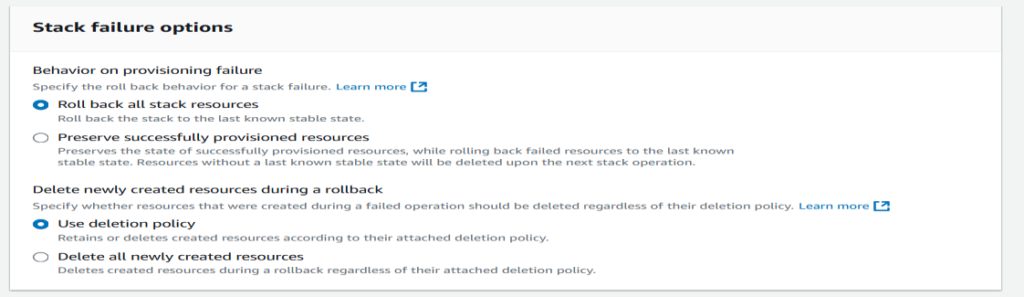
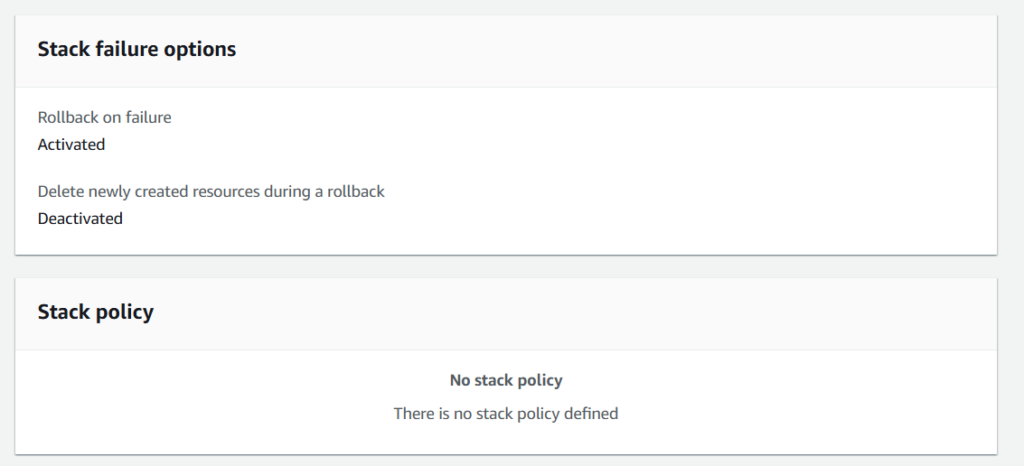
Then After You will failure option.
Behaviour On Provision Failure
You need to choose Roll back all stack resources
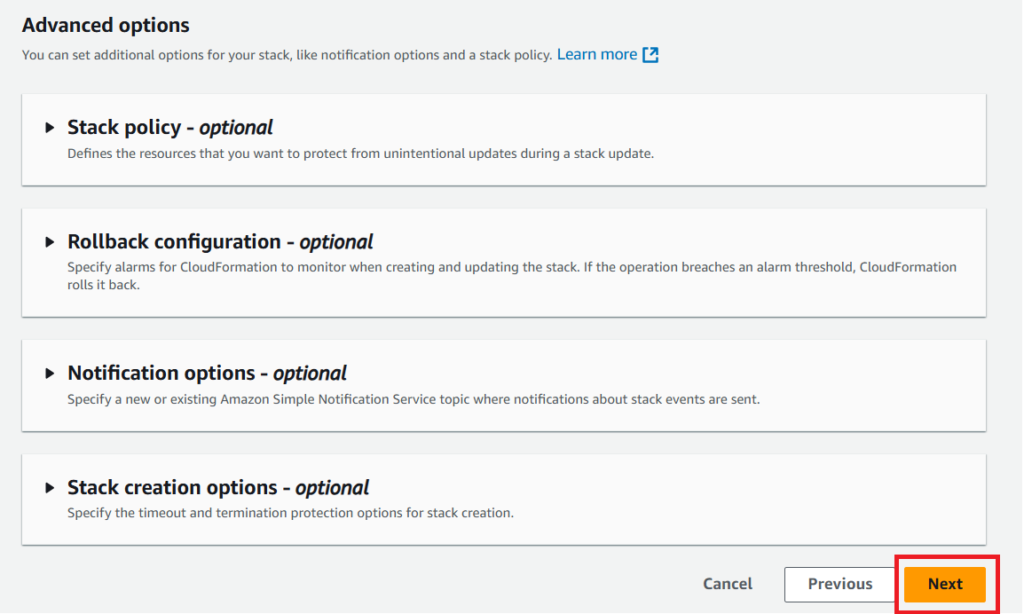
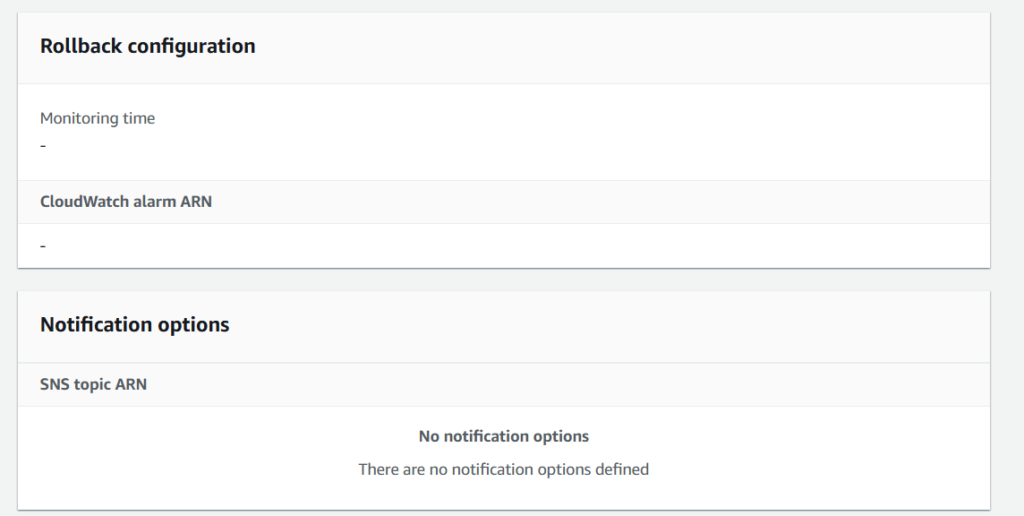
Then You will see Advanced Options.Nothing to do on this section.
Then Click Next
After Click The next you need to review the templates Then Submit
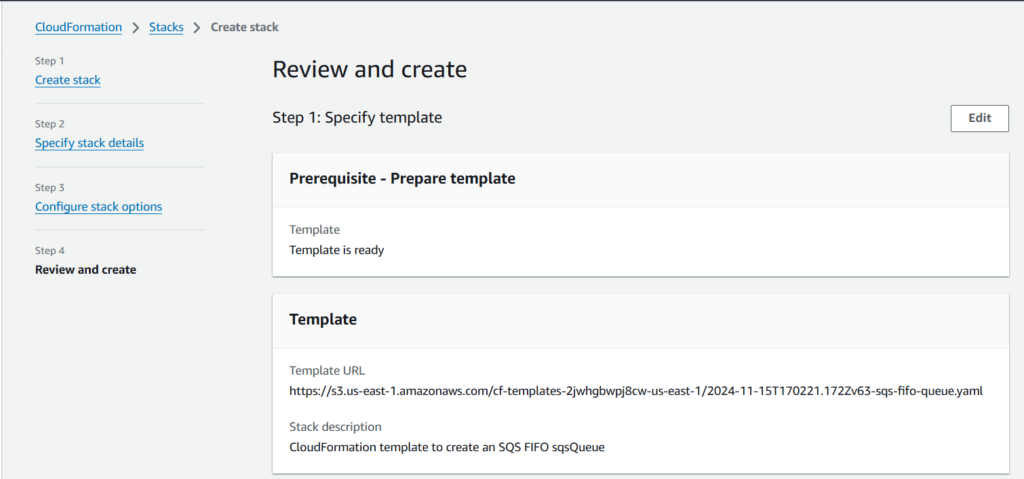
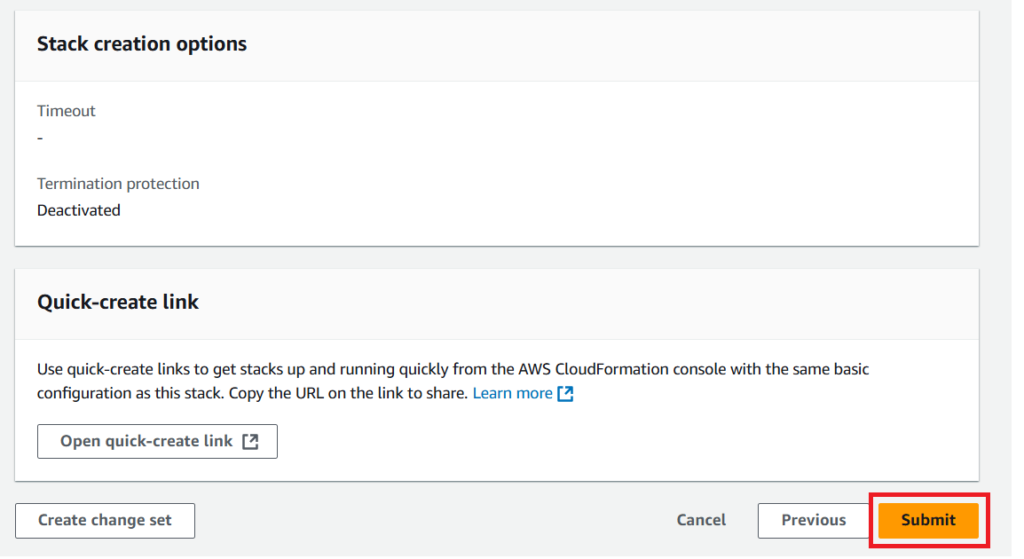
After Submit Template will creating the resources like fifo queue.
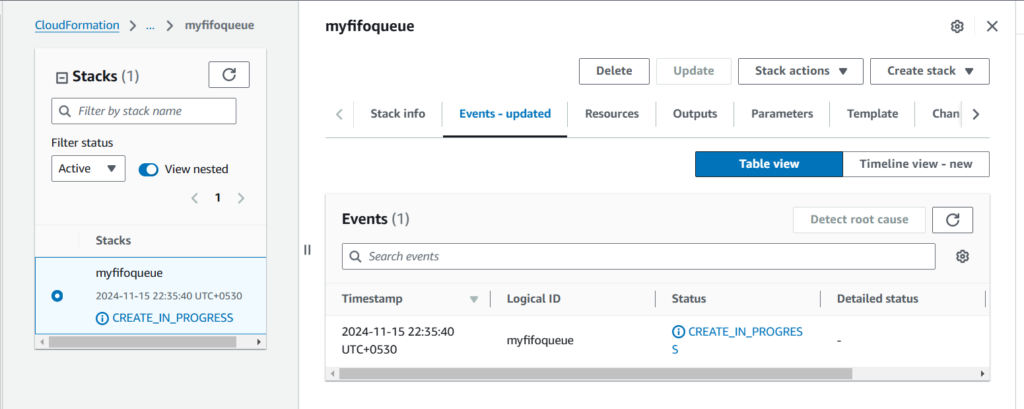
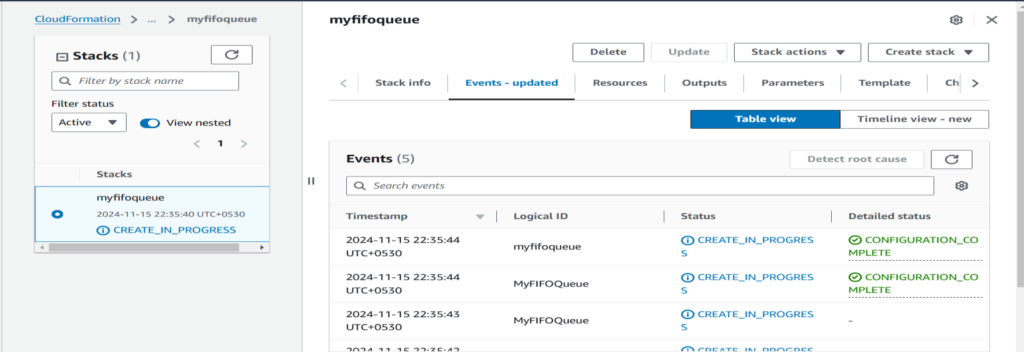
You will see the resource configuration has been completed.

Then After Go to Simple Queue Service for check the resource create or not for the verifiy the same.
Verify Queue Creation.
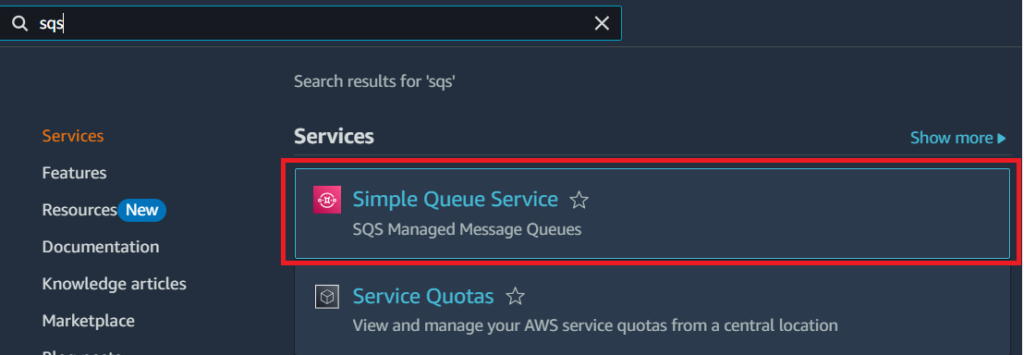
Resource has been created through cloudformation template.

Once the stack is created, go to the SQS Console in AWS.
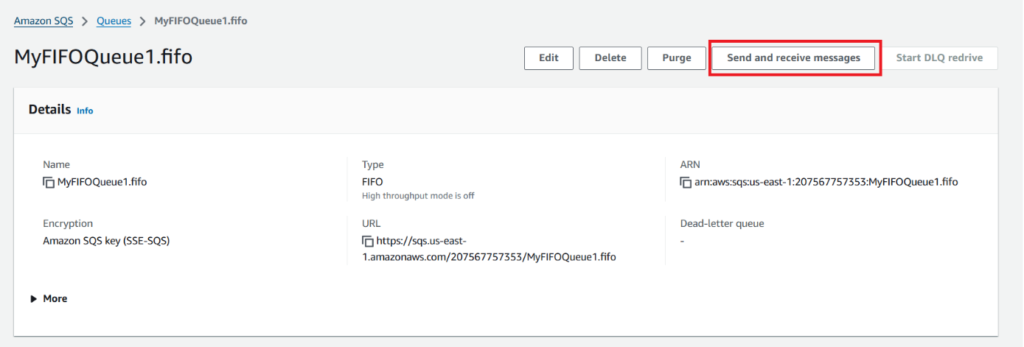
Verify that there is a new FIFO queue called MyFIFOQueue1.fifo in the list of queues.
Test the SQS Queue by Sending Messages.
Send a Message to the FIFO Queue.
In the SQS Console, select MyFIFOQueue1.fifo from your list of queues.
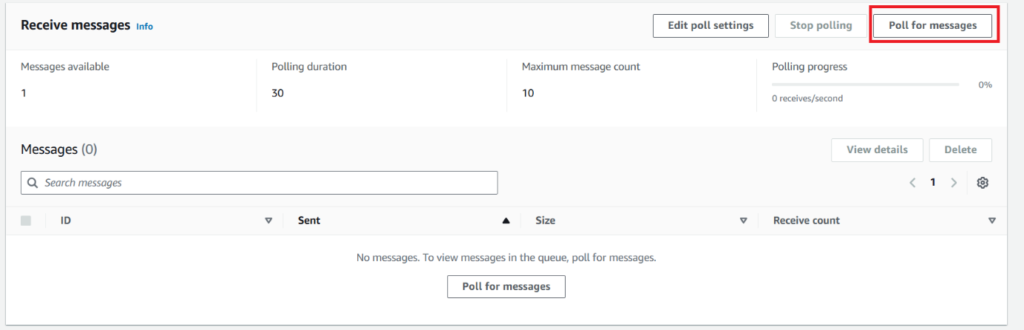
Click on Send and receive messages.
Test the SQS Queue by Sending Messages.
Send a Message to the FIFO Queue.
In the SQS Console, select MyFIFOQueue1.fifo from your list of queues.
Click on Send and receive messages.
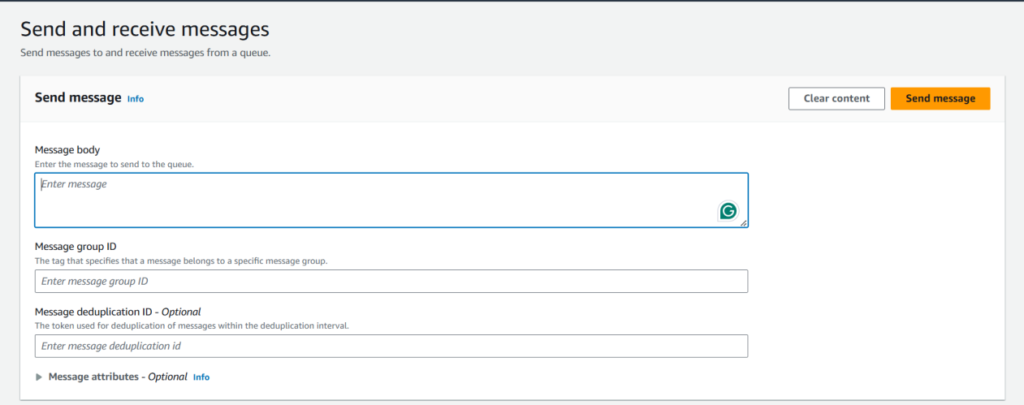
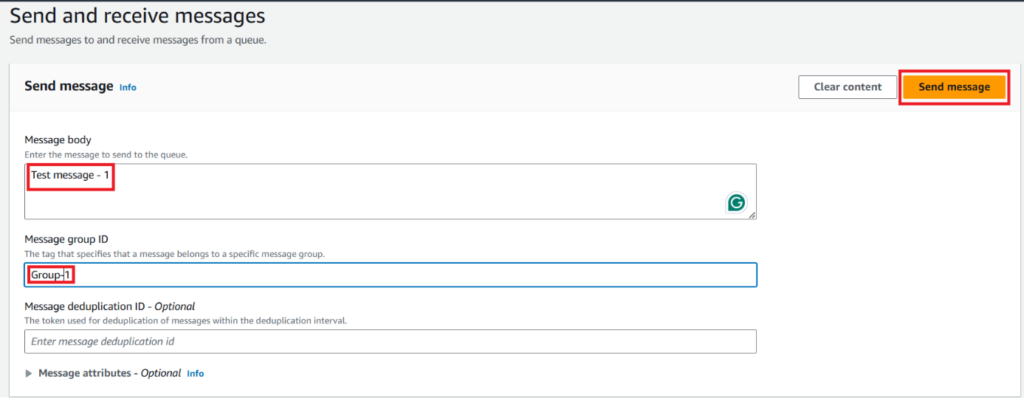
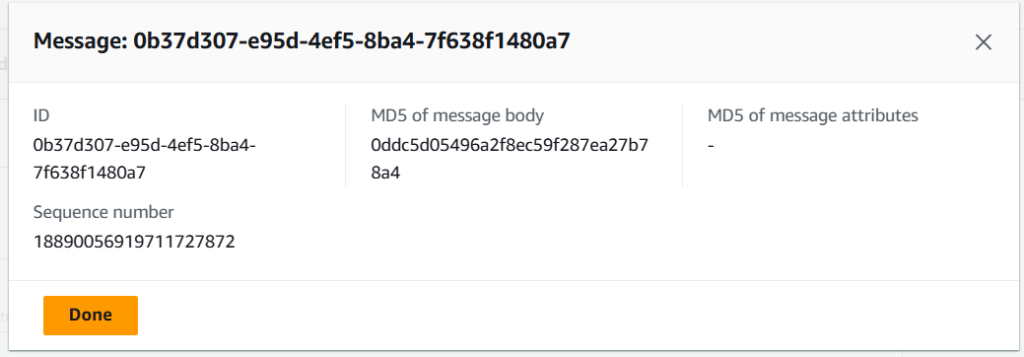
Enter Message Details. In the Message body section, type a sample message like “Test message – 1”.
Enter a Message Group ID like “Group – 1”. For FIFO queues, Message Group ID is required to ensure the messages are processed in the order they’re sent within that group. Click Send message.
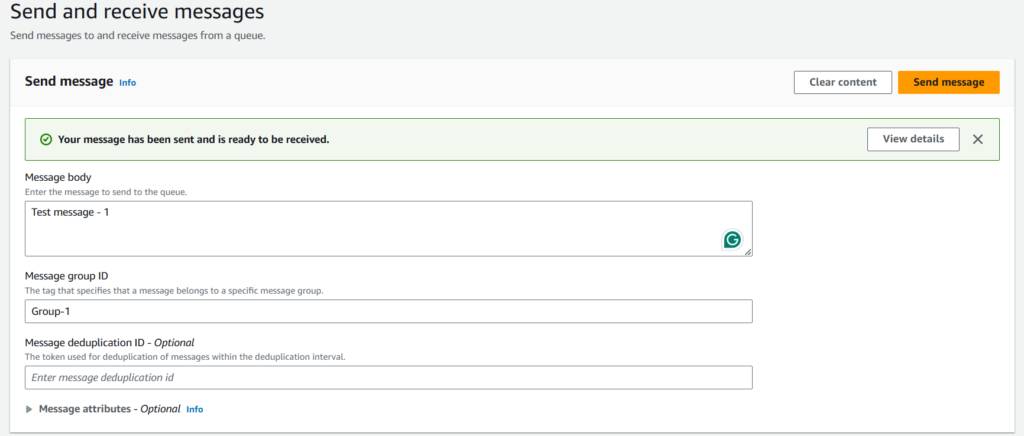
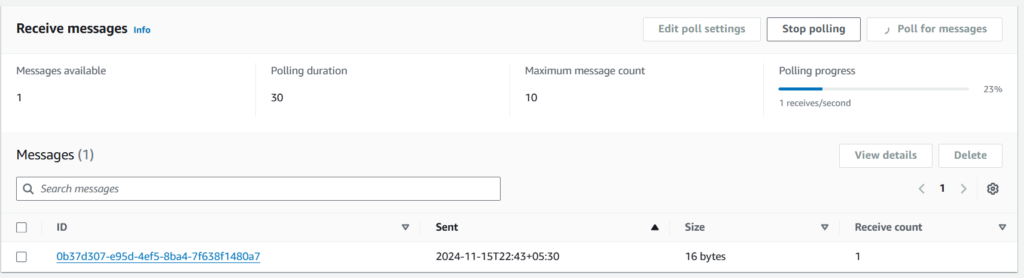
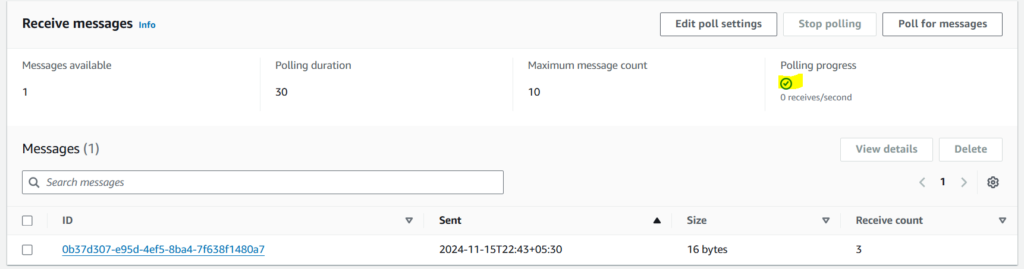
Send Additional Messages for Testing.
Send a few more messages, changing the Message body (e.g., “Test message – 2”, “Test message – 3”) but using the same Message Group ID.
This will help demonstrate the FIFO behaviour of the queue when messages are processed.
2.Registering Your Email in Amazon SES and Sending a Test Email.
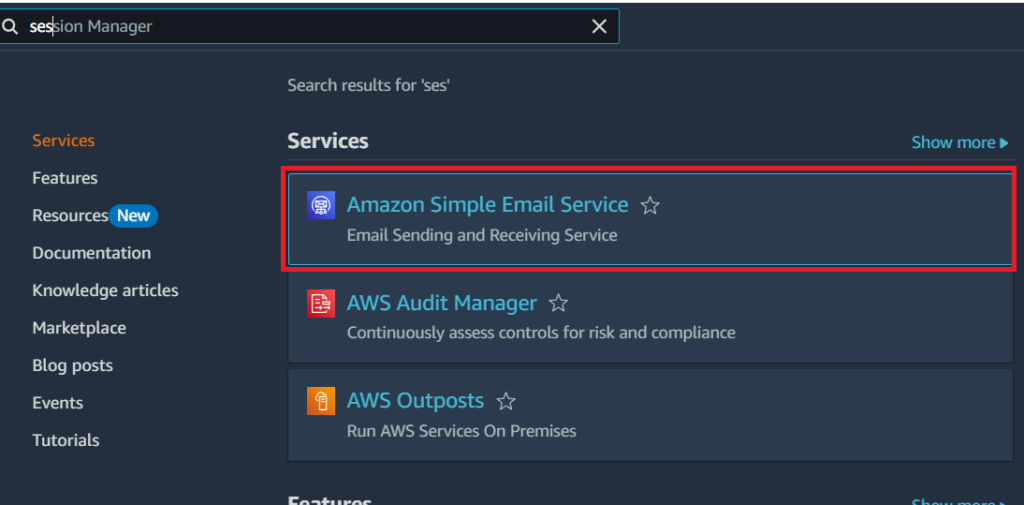
Register Your Email in Amazon SES. Open the SES Console.
Log in to your AWS Management Console. Go to the SES (Simple Email Service).
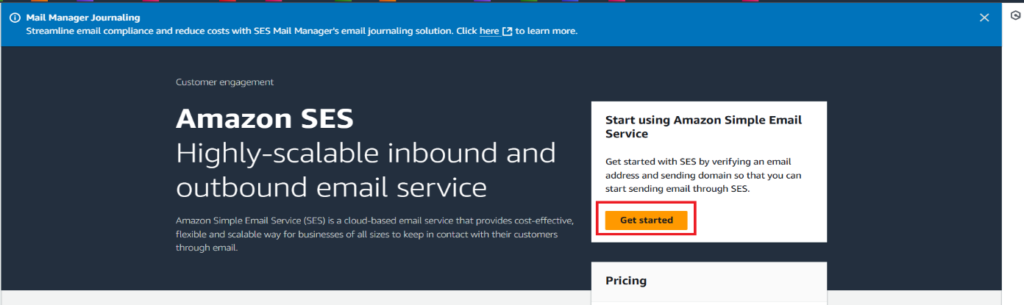
Click Get Started.
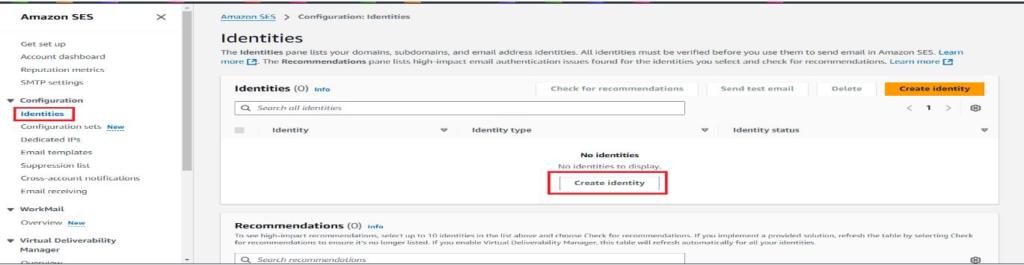
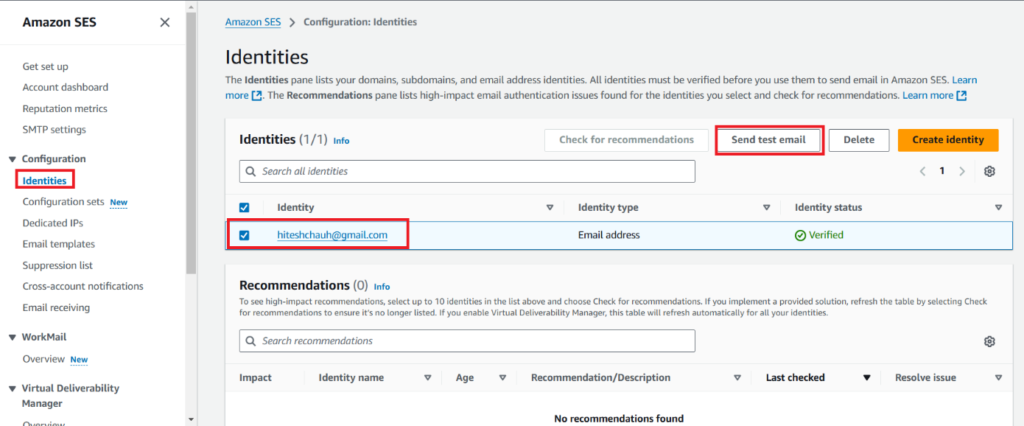
In the left sidebar, click on Verified Identities.
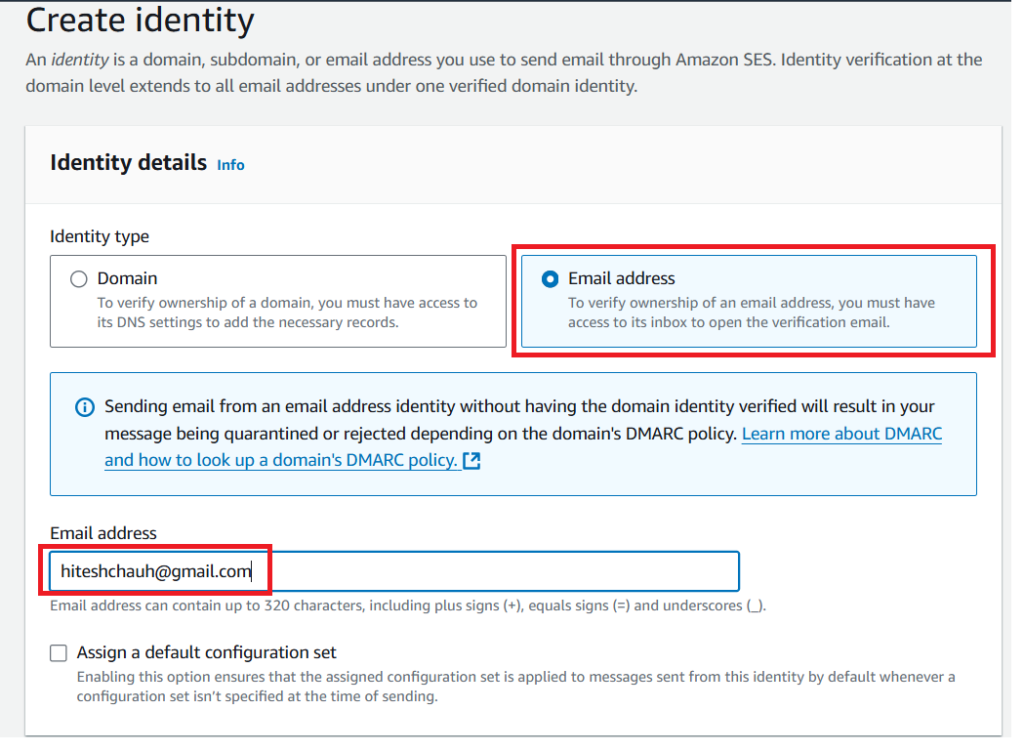
Click Create Identity and choose Email Address.
Enter the email address you want to verify (e.g., your-email@example.com) and click Create Identity.
AWS will send a verification email to the specified address.

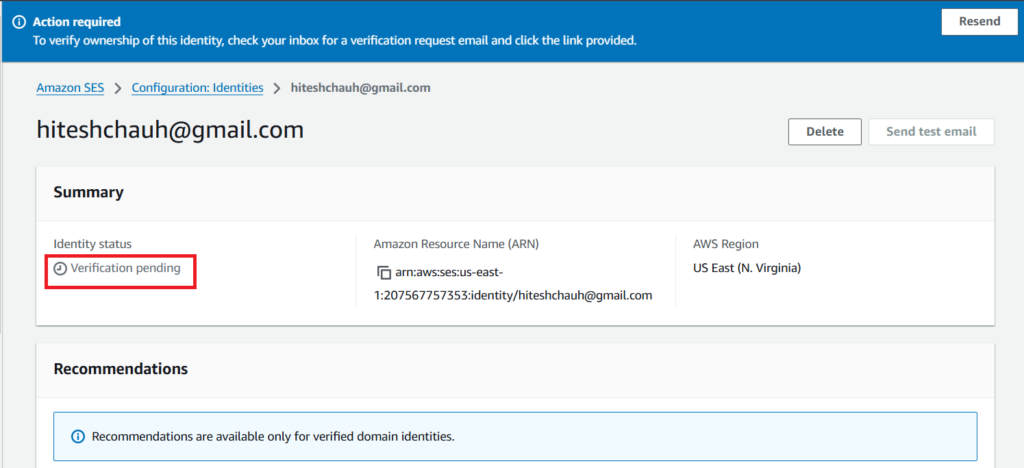
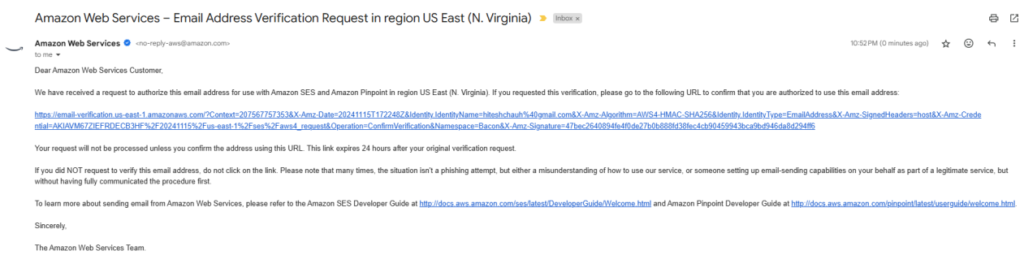
Confirm the Verification Email.
Open your email inbox.
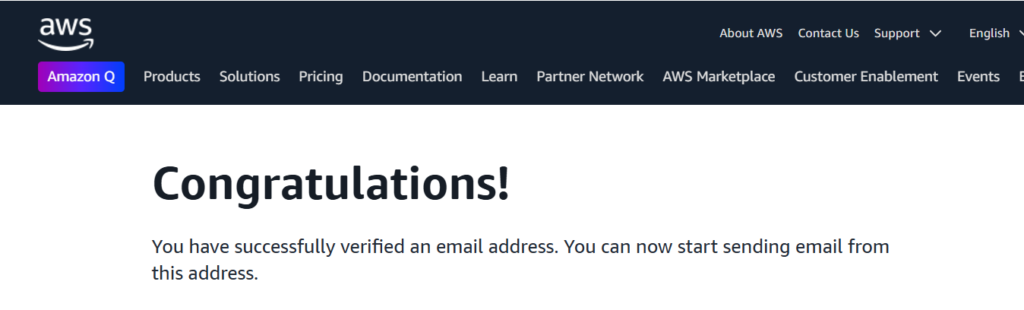
Find the verification email from AWS and click the link to confirm your email address.
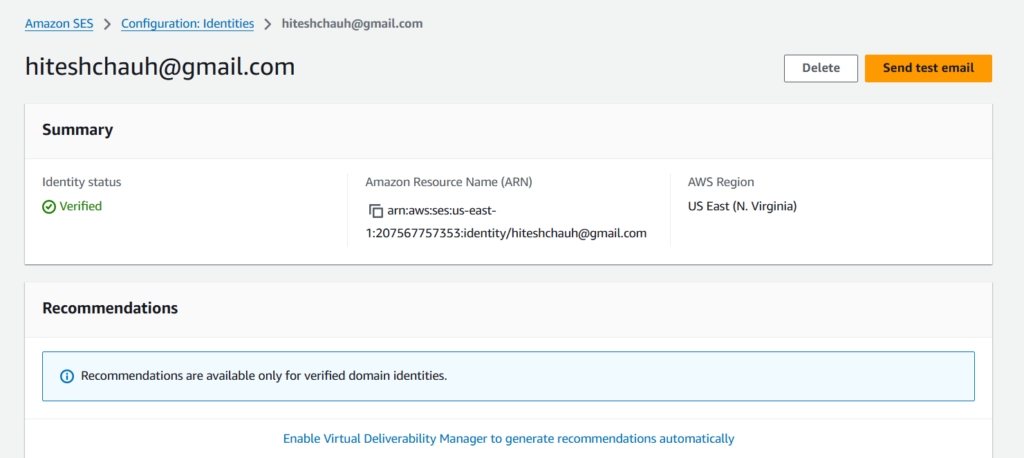
Go back to the SES console and refresh the page to confirm that your email status shows as Verified.
Send a Test Email Using SES.
Send a Test Email.
In the SES Console, click on Verified Identities and select the email you just verified.
Click Send a Test Email.
Send a Test Email Using SES.
Send a Test Email.
In the SES Console, click on Verified Identities and select the email you just verified.
Click Send a Test Email.
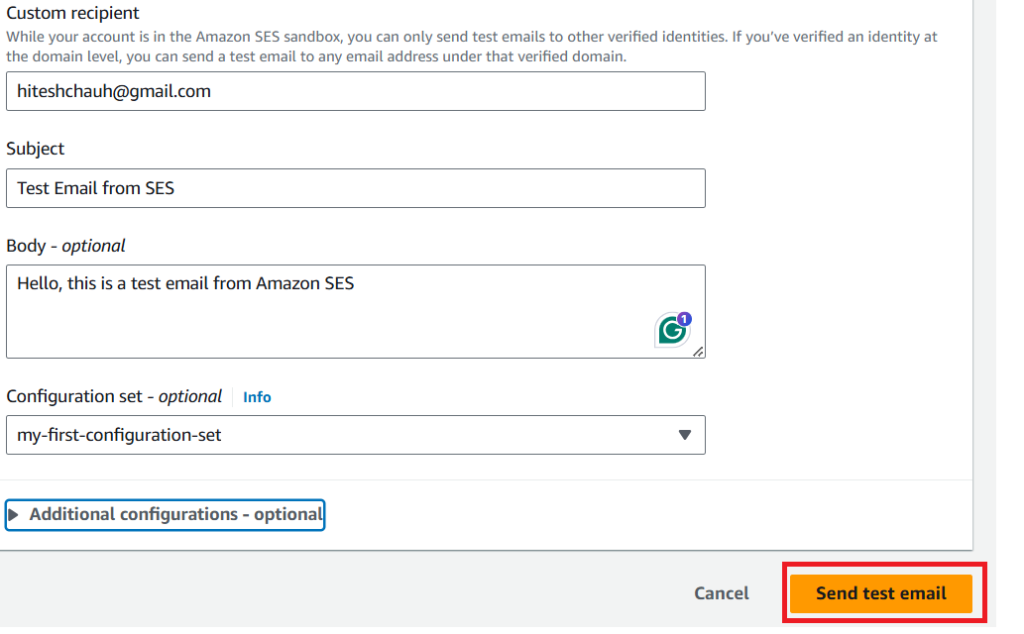
Enter Email Details. Email format: Choose Simple.
From address: Enter your own verified email address
Scenario: Successful delivery
Subject: Type a subject for the email, such as “Test Email from SES”.
Body: Type a sample message for the email, such as “Hello, this is a test email from Amazon SES.”

Verify the Test Email. Check your email inbox for the test email from SES. It should arrive within a few moments.

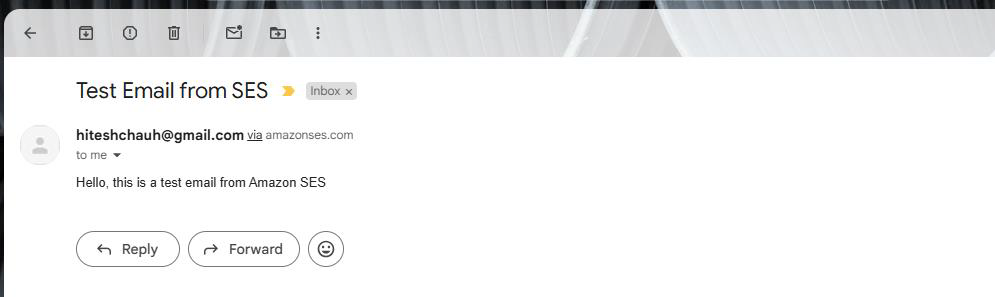
Good
Awesome