Pre-requisites
- Create two instances with the Apache2 server running in each.
- Make sure the web pages in each instance reflect Webserver 1 and
WebServer 2 as the message, respectively.
Step 1: Sign in to the AWS Management Console and open the Amazon EC2
console at https://us-east-1.console.aws.amazon.com/ec2/
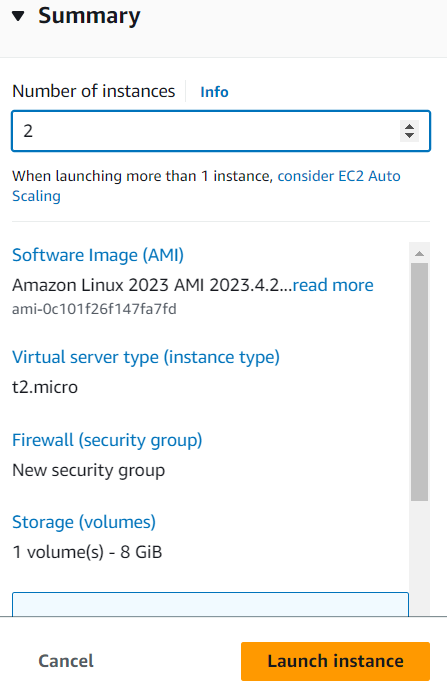
Step 2: Launch 2 instances of Linux-based AMI.
Step 3: Connect to the instances using the EC2 instance connect option.
Step 4: Update and install Apache2 in the instances, respectively.
$ sudo apt-get update

$ sudo apt-get install apache2 -y
Step 5: Move to the /var/www/html directory and replace the index.html file with
a new index.html file.

Step 6: Add the following content to the files in each instance “Running Web
Server 1” and “Running Web Server 2” respectively.
Instance 1:
$ echo “Running Web Server 1” > index.html

Instance 2:
$ echo “Running Web Server 2” > index.html

Create Target Groups
Step 1: Sign in to the AWS Management Console and open the Amazon EC2
console at https://us-east-1.console.aws.amazon.com/ec2/
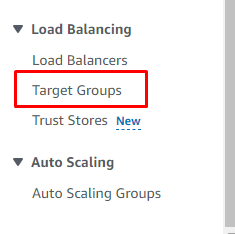
Step 2: In the right pane, under LOAD BALANCING, choose Target Groups.
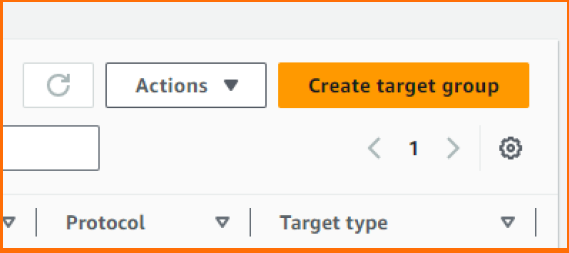
Step 3: Choose Create target group.
Step 4: Under Basic configuration, do the following:
● For Choose a target type, click Instances.
● In the Target group name box, enter a name for the target group.
● For the Protocol list, leave default.
● In the Port list, change the default value as required.
● For IP address type, click IPv4 or IPv6.
● In the VPC list, choose the virtual private cloud (VPC) with the targets to
register.
Once done, click Next

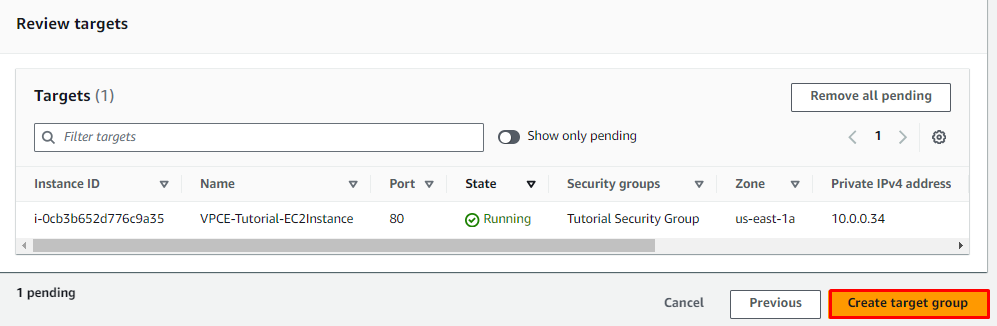
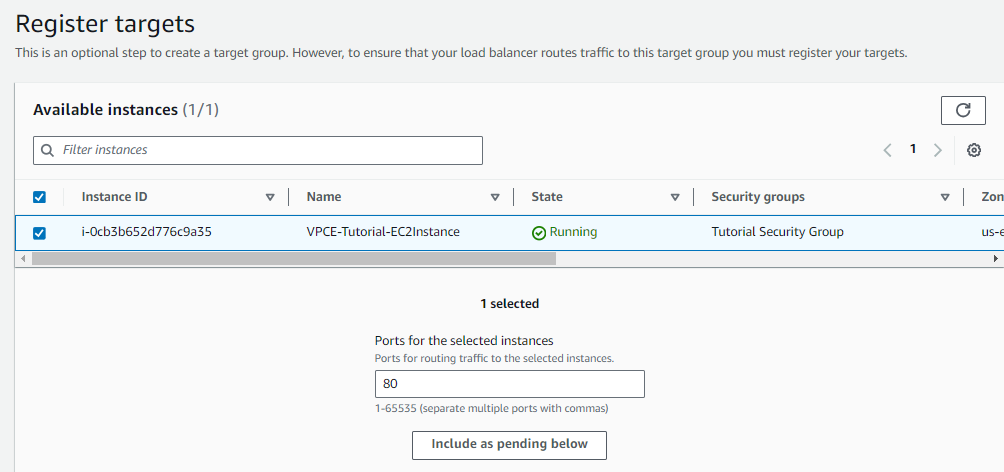
Step 5: Select one or more instances, enter one or more ports, and then choose
Include as pending below.
Step 6: Choose Create target group.