Create Custom VPC and Its Resources
Step 1: Open the Amazon VPC console at
https://console.aws.amazon.com/vpc/
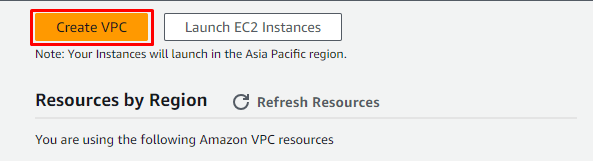
Step 2: On the VPC dashboard, choose Create VPC.
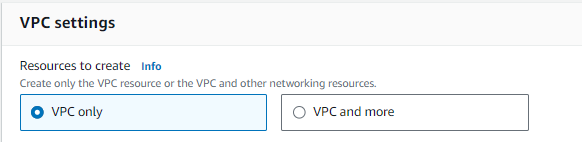
Step 3: For Resources to create, choose VPC only
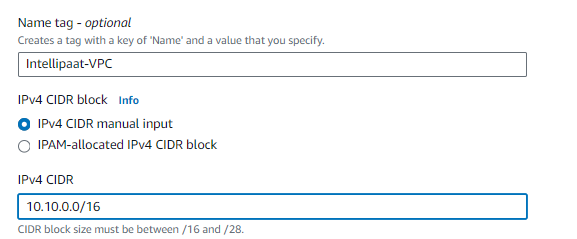
Step 4: For IPv4 CIDR block, enter an IPv4 address range for the VPC. A VPC
must have an IPv4 address range.
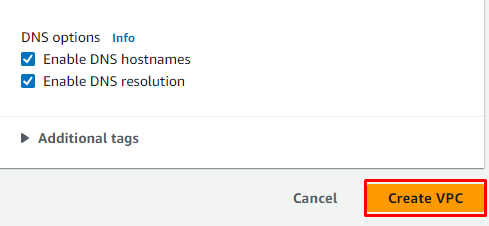
Step 5: When you are finished configuring your VPC, choose Create VPC.
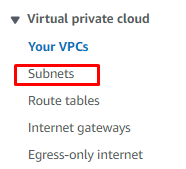
Step 6: In the navigation pane, choose Subnets.
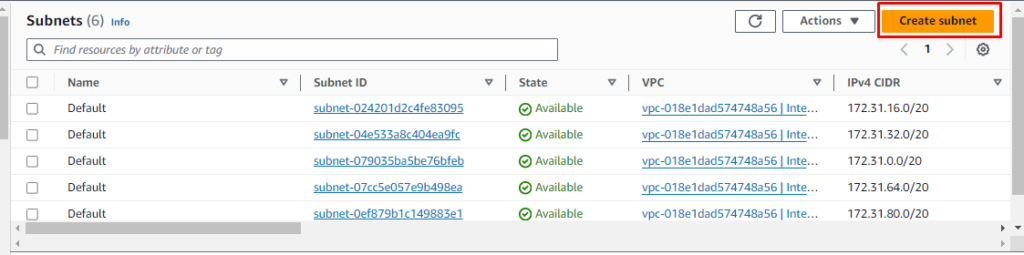
Step 7: Choose Create subnet.
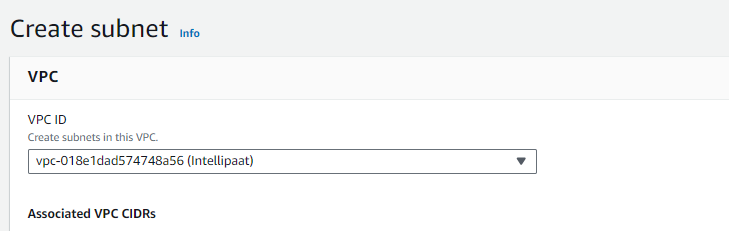
Step 8: Under VPC ID, choose the VPC for the subnet.
Step 9: For Availability Zone, you can choose a Zone for your subnet, or leave
the default No Preference.
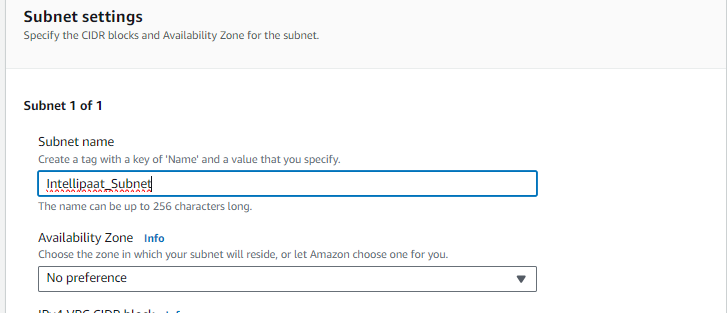
Step 10: For IPv4 CIDR block, select Manual input to enter an IPv4 CIDR block
for your subnet.
Step 11: Choose Create subnet.
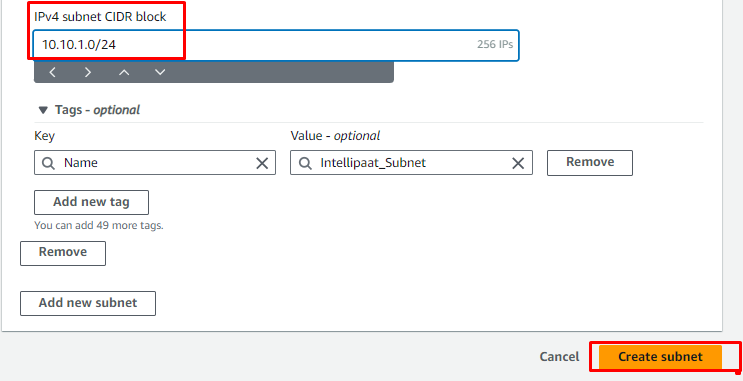
Step 12: Repeat Step 7 – 11 to create another subnet named as Private-Subnet
and Subnet CIDR 10.10.2.0/16.
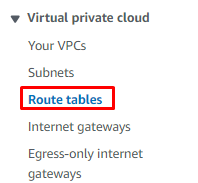
Step 13: In the navigation pane, choose Route tables.
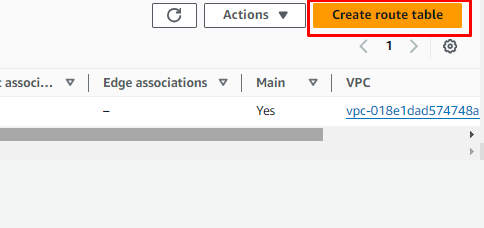
Step 14: Choose Create route table.
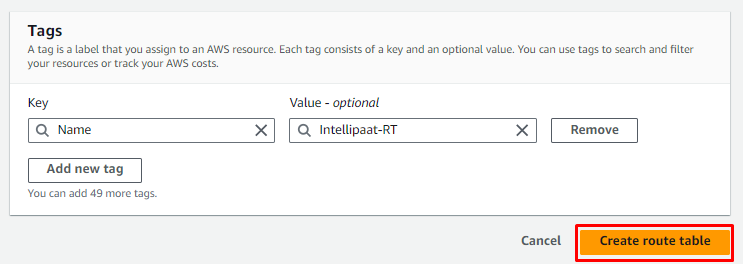
Step 15: For Name, enter a name for your route table.
Step 16: For VPC, choose your VPC.
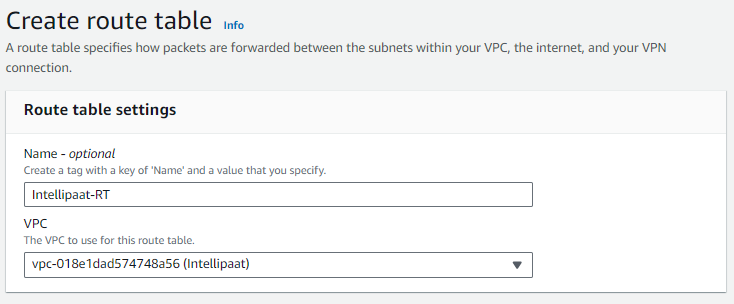
Step 17: Choose Create route table.
Step 18: Similarly, repeat steps 14 – 17 to create another Route table named
Private-RT.
Steps to Associate a Route Table With a Subnet Using the Console
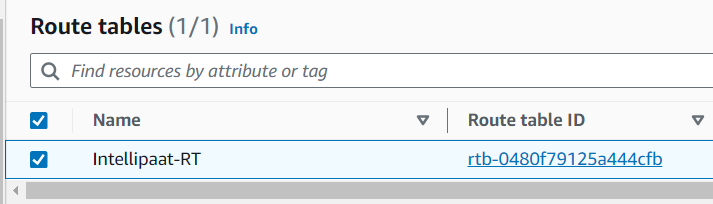
Step 18: In the navigation pane, choose Route tables, and then select the route
table Intellipaat-RT created in step 17.
Step 19: On the Subnet associations tab, choose Edit Subnet Associations.

Step 20: Select the check box for the subnet to associate with the route table.
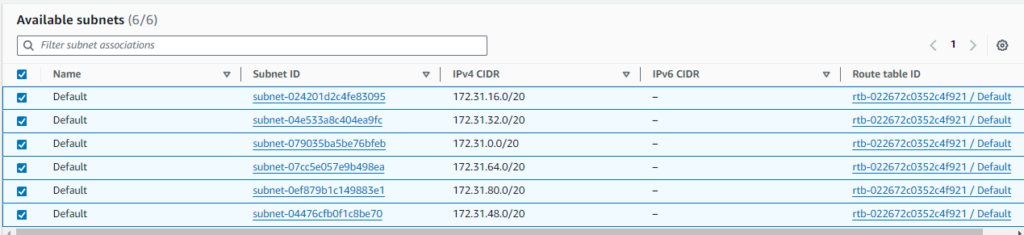
Step 21: Choose Save Association.
Step 22: Similarly, select the Private RT route table and add the Private-Subnet
created in step 12 to this route table.
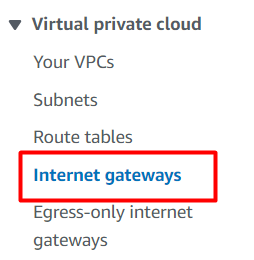
Creating Internet Gateway for Internet Access to the Public Subnets
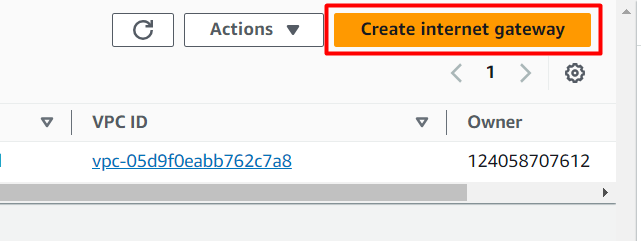
Step 23: In the Resources panel, select Internet Gateways.
Step 24: Click Create Internet Gateway.
Step 25: Enter the required information:
● Name: Enter a descriptive name for your internet gateway.
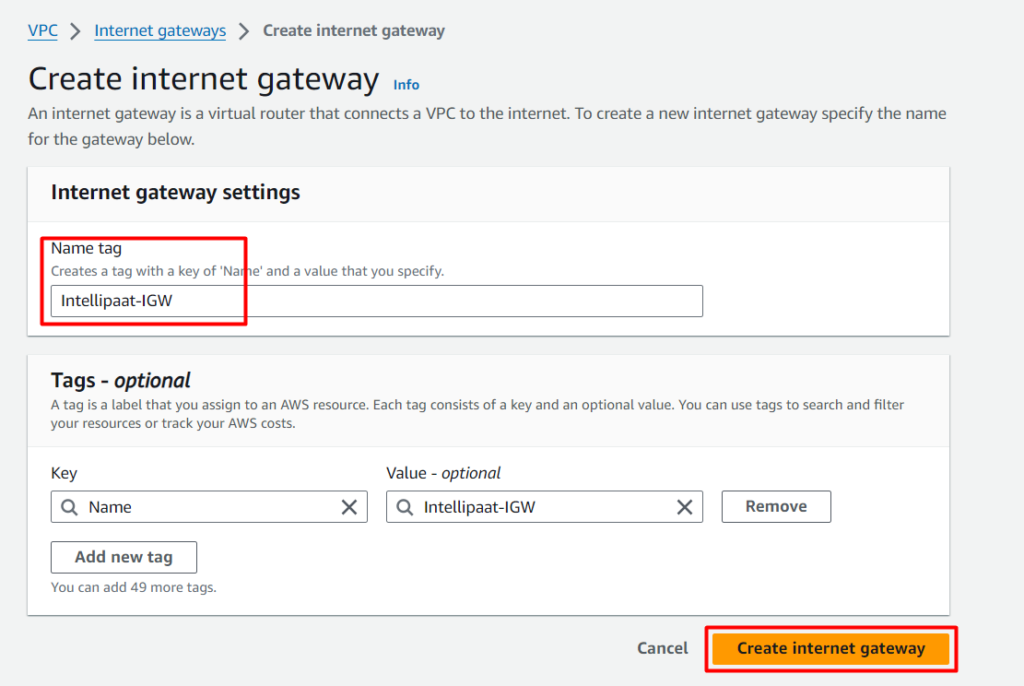
Step 26: Click Create Internet Gateway.
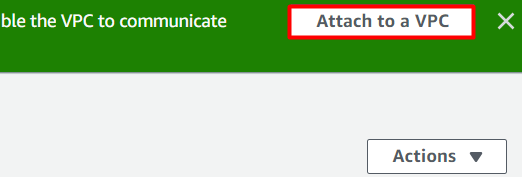
Step 27: Once the Internet Gateway has been created, click on Attach to VPC
on the top right.
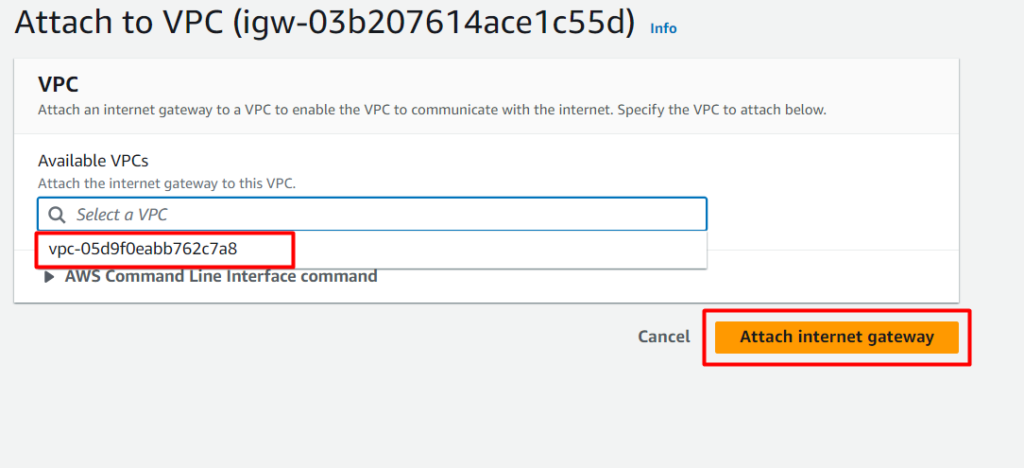
Step 28: Select your VPC to the one you wish to connect to the Internet
Gateway.
Step 29: Now, select the Route table section on the left pane.
Step 29: Select the Intellipaat-RT route table, click on Routes.
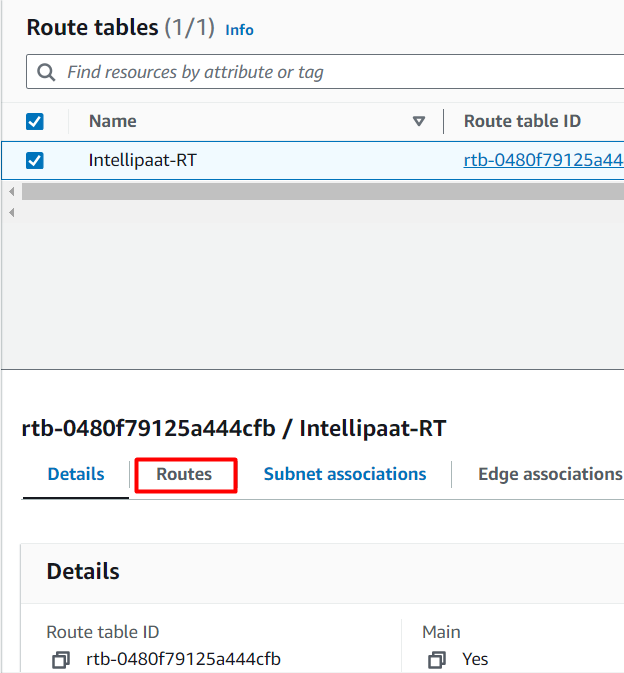
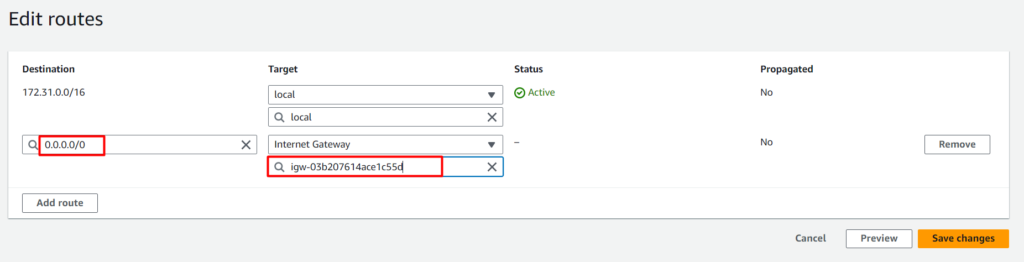
Step 30: Click Edit Routes.

Step 31: Add Destination as 0.0.0.0/0 then add target as Internet Gateway and
select your gateway created in Step 26.
Finally, we have created 2 subnets 1 Public and 1 Private and attached
them with separate route tables for easy traffic management.