Create a VPC Endpoint
Step 1: Open the Amazon VPC console at
https://console.aws.amazon.com/vpc/
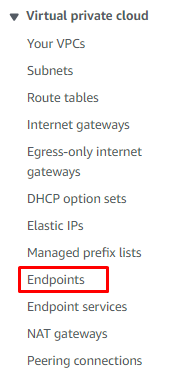
Step 2: In the navigation pane, choose Endpoints.
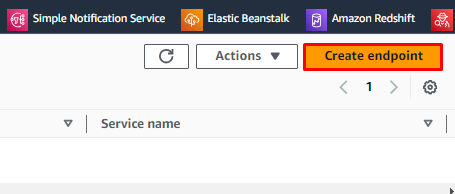
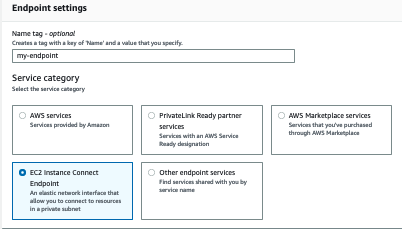
Step 3: Choose Create endpoint. For the Service category, choose EC2 instance connect endpoint.
Step 4: After Create endpoint, and then complete the settings in the dialog box,as follows:
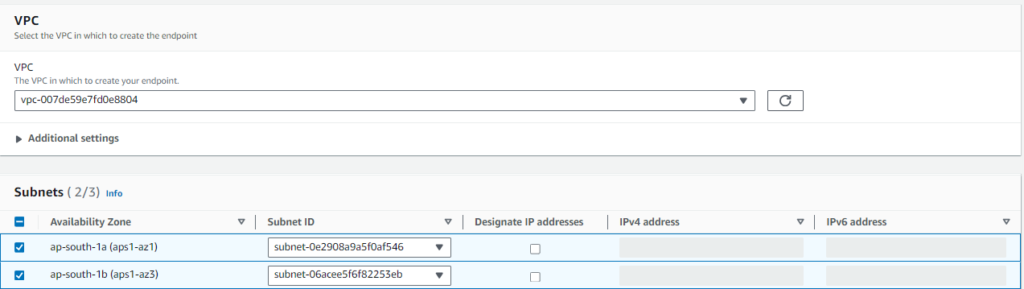
Step 5: For VPC, select the default VPC, For Subnets, select one subnet per Availability Zone.
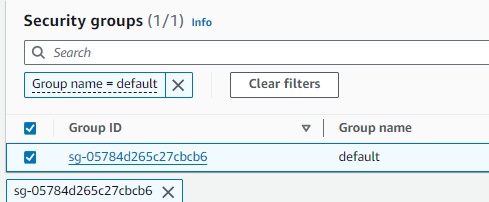
Step 6: For the Security group, choose the default security group of the VPC.
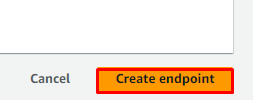
Step 7: Choose Create endpoint.
Step 8: Once done, create an EC2 instance in the Private subnet of the VPC.
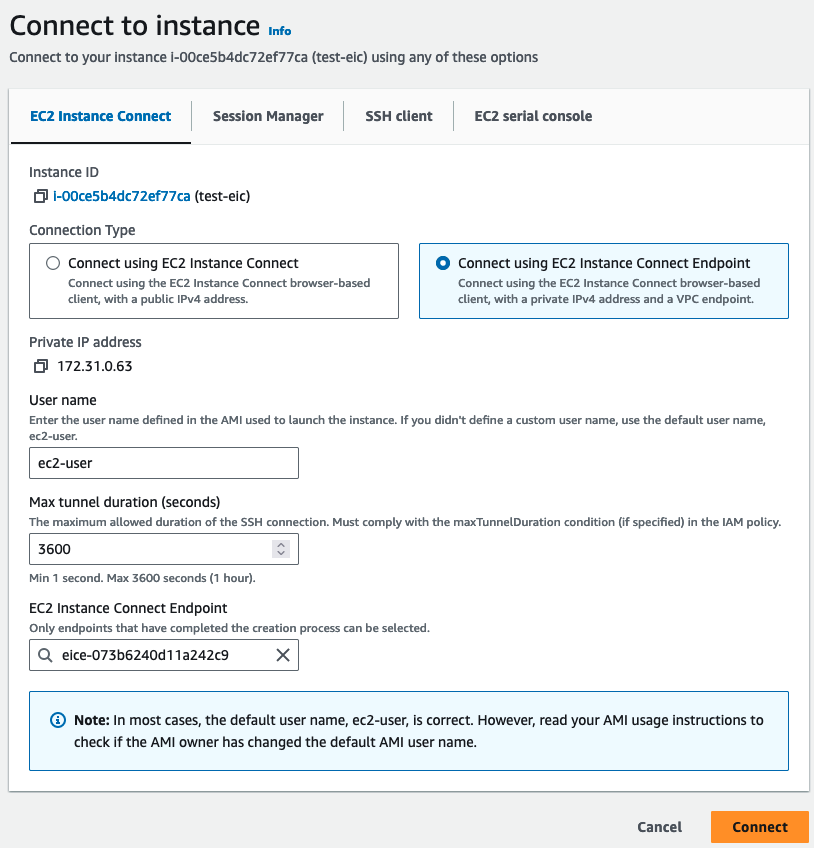
Step 9: After the instance is created, click on Connect on the AWS Console.
Step 10: Choose the EC2 Instance Connect tab. For Connection type, choose
Connect using EC2 Instance Connect Endpoint. Choose Connect.
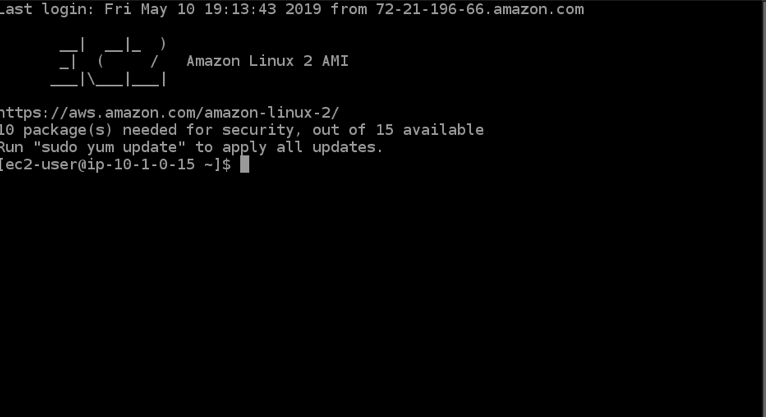
Finally, you will be connected to the instance.